Cruisers
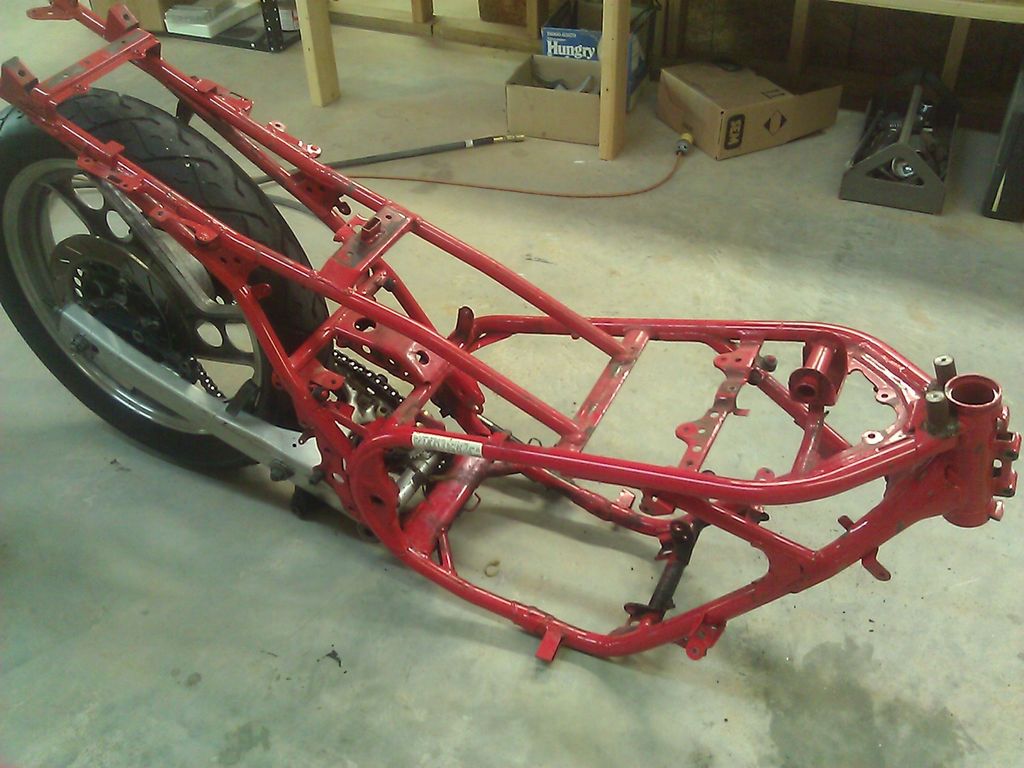
Yamaha RZ350 restoration- part 3
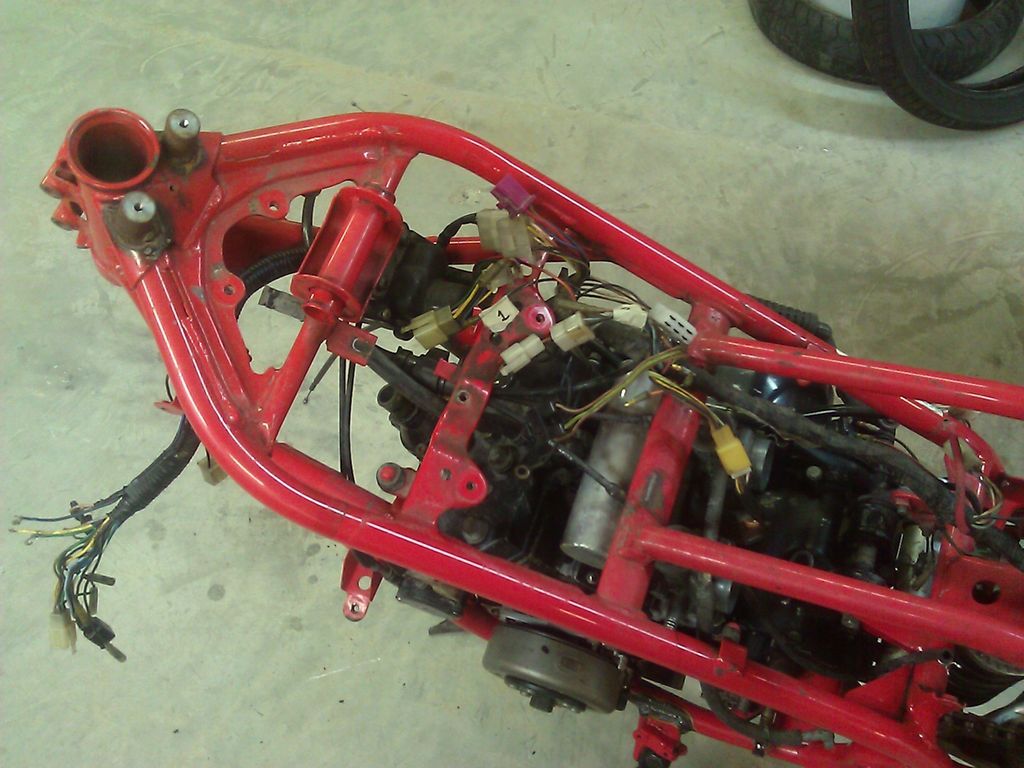
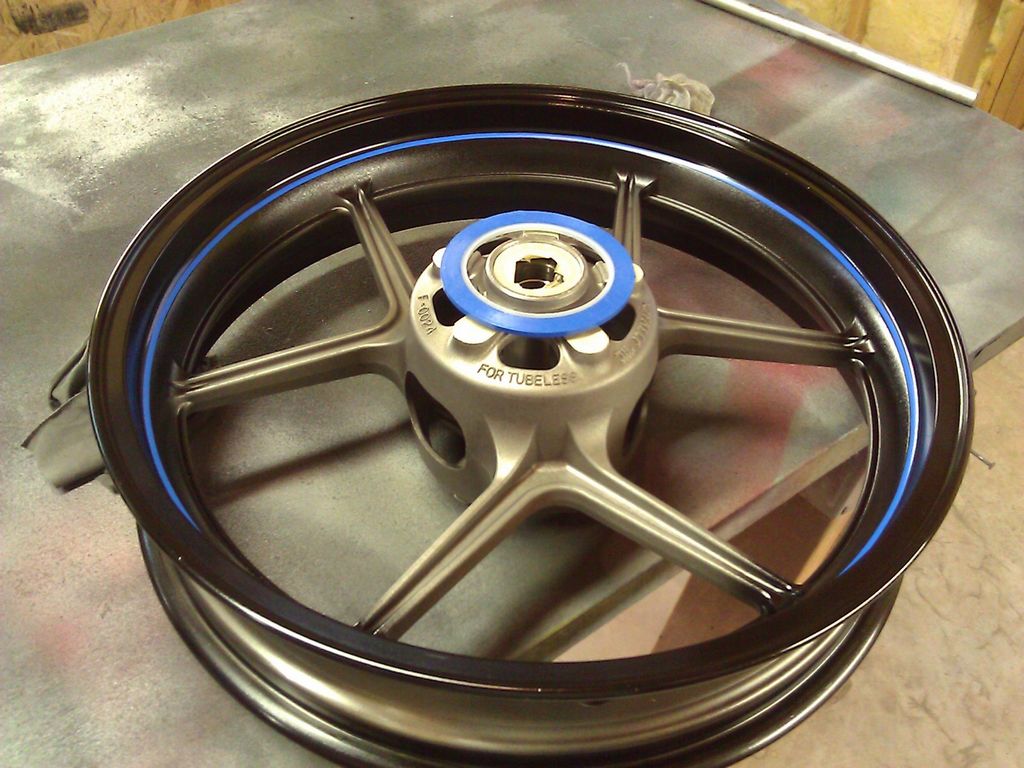
Not much to see- except a bare frame. The motor is pulled and sitting in the parts washer. The swingarm is apart and the nice thing is that all of the linkages and pivot bearings are nice and tight. So it is mostly a matter of cleaning and painting. I Read more…