1985 Canadian RZ350
I wanted to put up a page with pictures and some description in chronological order. The posts on the main page will eventually get archived, so this will help keep everything on one page…
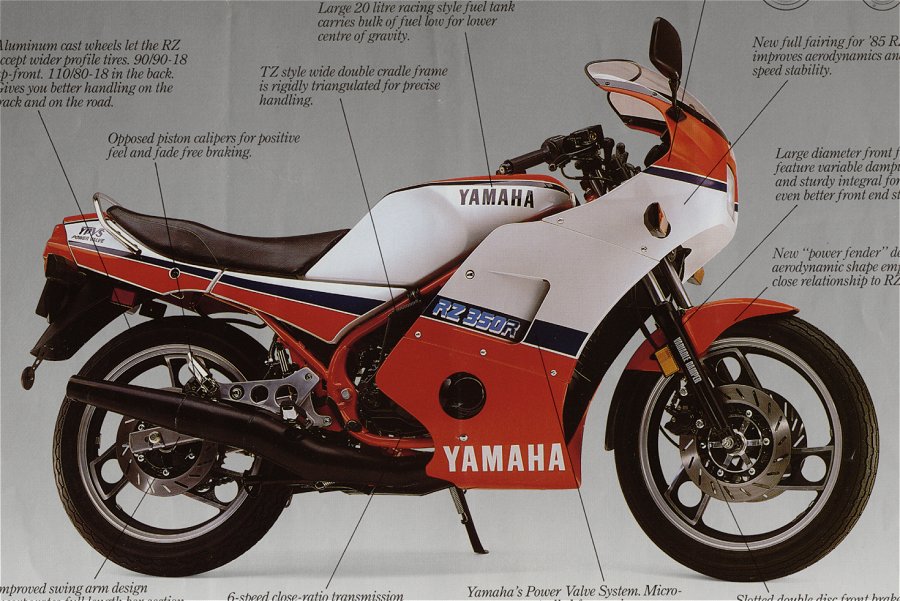
We started with a 1985 Canadian RZ350 which originally came with full fairings like the one in the above picture. The Canadian bikes made a bit more power and had an updated swingarm, better forks, brakes and a lot of other detail stuff that the US bike didn’t have- like the electronic tach, etc.
Here is what it looked like when I bought it. It had been raced at some point in it’s life and converted to semi-US specs and bodywork. Figuring out the color schemes took some research. The 85 Canadian bikes had the same tanks as the 84 US bikes but the tail and side panels were slightly different and of course the full fairings came on the Canadian bikes.
The bike ran awesome and had recently had the engine gone through so I had no plans to do any engine work. It was old and had Home Depot hardware holding stuff together, so I was practically forced to restore it since my personality wouldn’t let me live with it in the current condition.

1985 Yamaha RZ350

old and used but not terrible condition…
So, we started by dissembling the whole bike which doesn’t take much time at all but you better label everything because your memory isn’t as good as you think it is 🙂
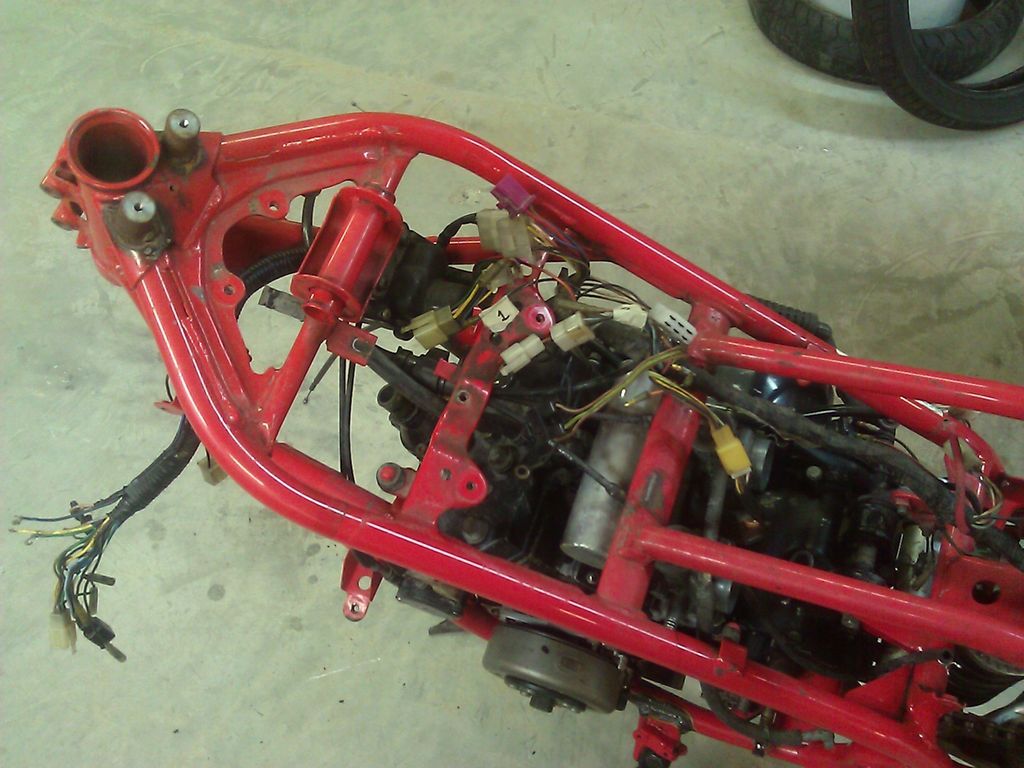
nasty wiring harness…
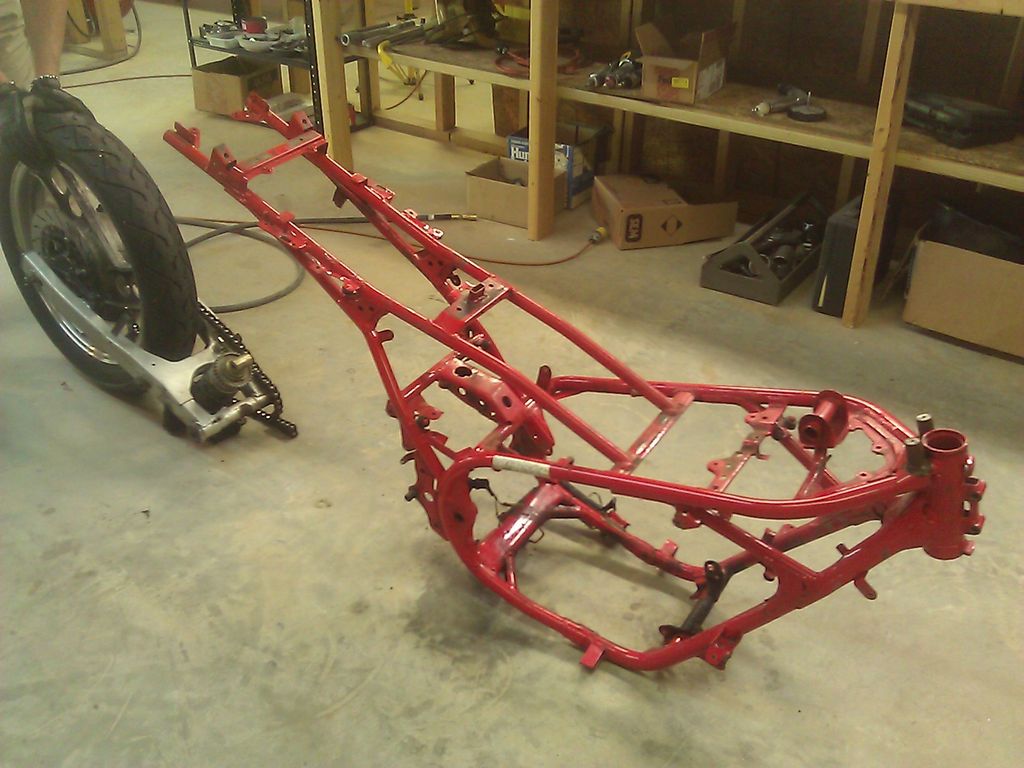
swingarm off…
Next, after lots of cleaning, sanding straightening tabs, etc, it was time for some epoxy primer.
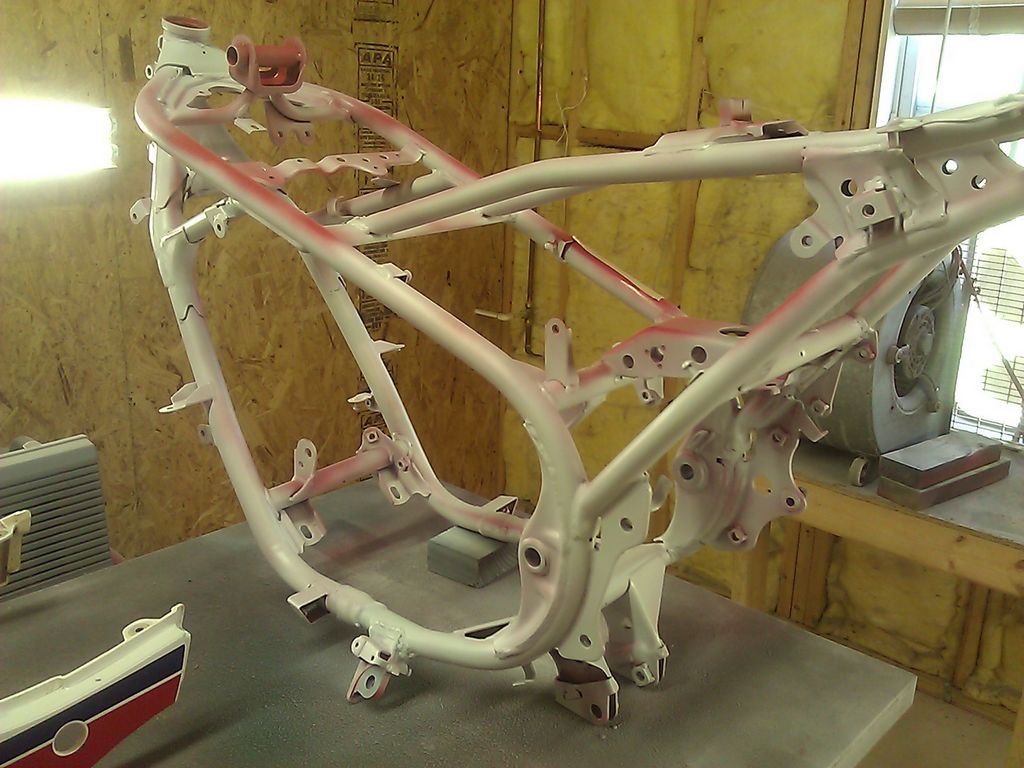
frame epoxy primed
The wheels were pretty beat up and when I took the tires off, lots of corrosion inside the rims. So after the same cleaning process and lots of sanding and blending, they also were epoxy primed and base coated in a color called fine gold.
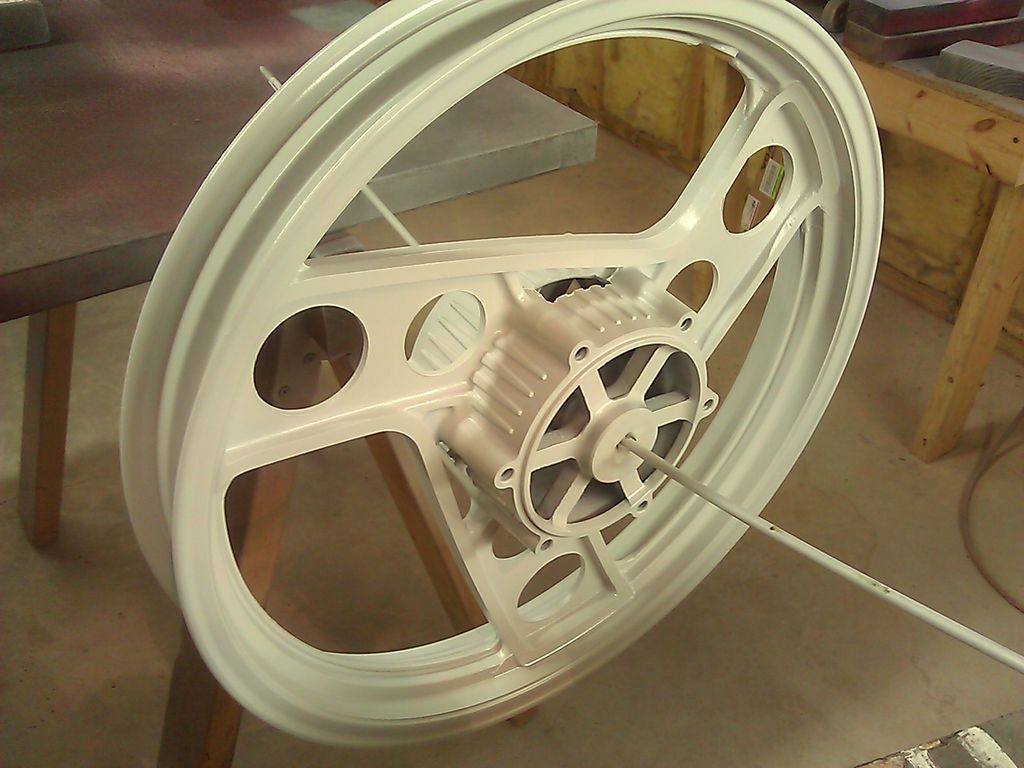
Front wheel after epoxy primer
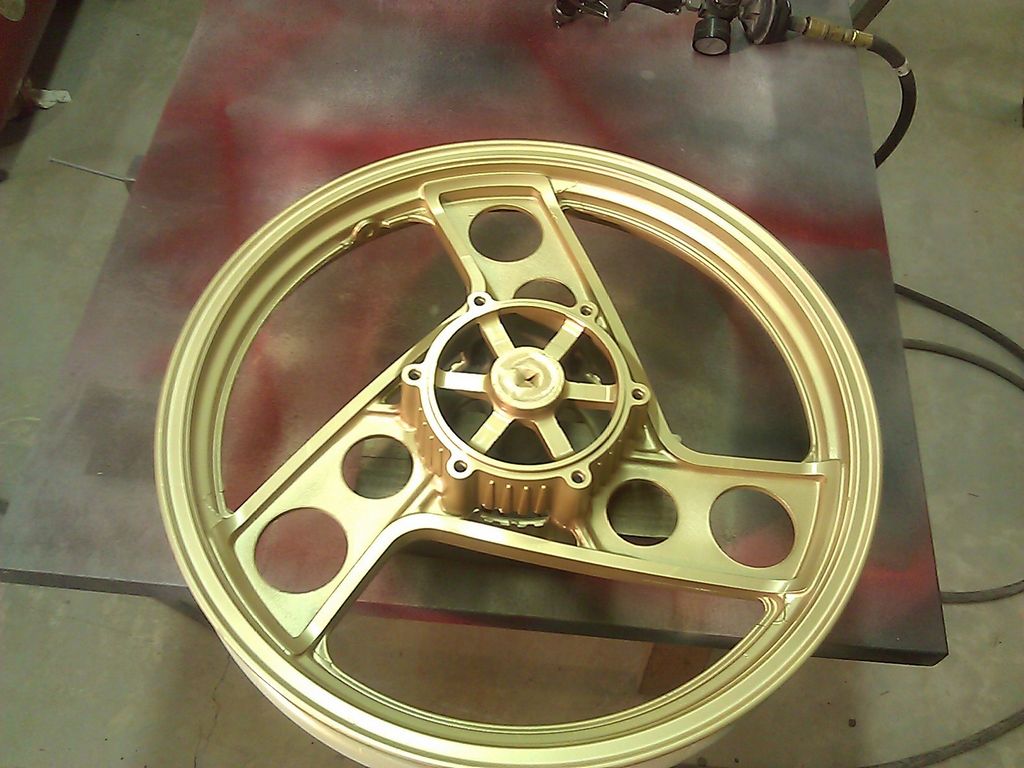
front wheel painted gold
After the frame was epoxy primed, I sprayed it with the same base coat red that I am using on the bodywork so it all matches. This will actually be quite a bit nicer than the original factory paint since the frames were usually a lot more orangish-red than the body panels and tank. A lot of people get their frames powder coated which works fine if you are doing it in black or silver but I really wanted the red to match perfect!
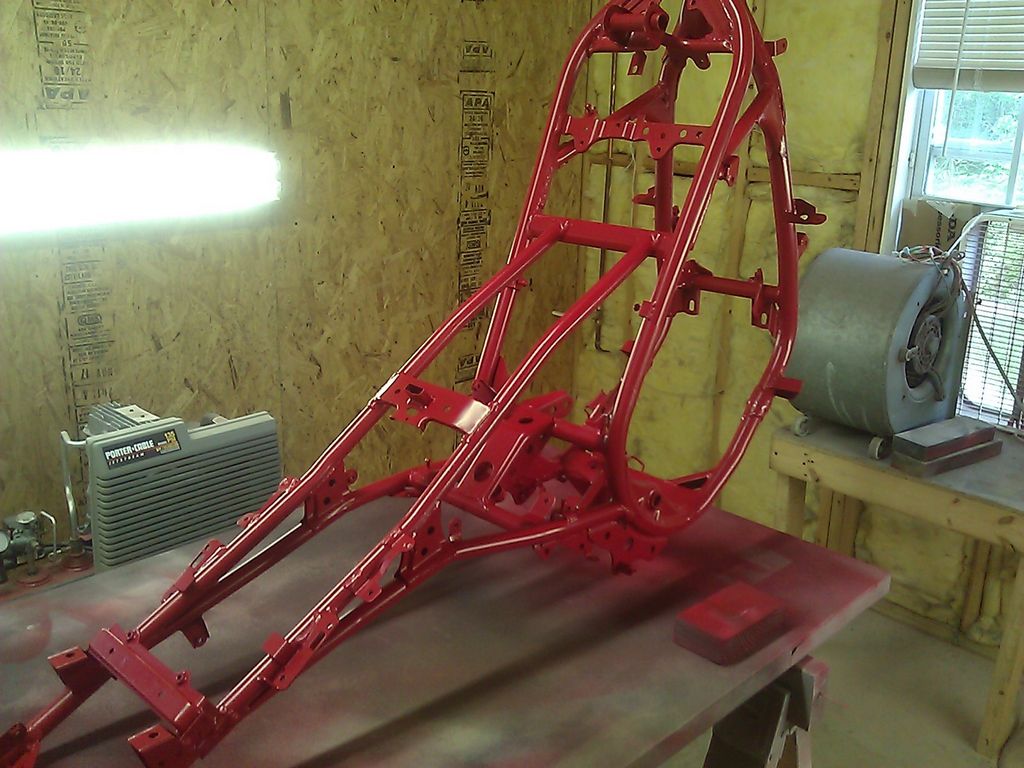
frame in base coat
After the base coat, 3 coats of clear and a couple of weeks of drying time before reassembly since new clear coat scratches and nicks very easy.
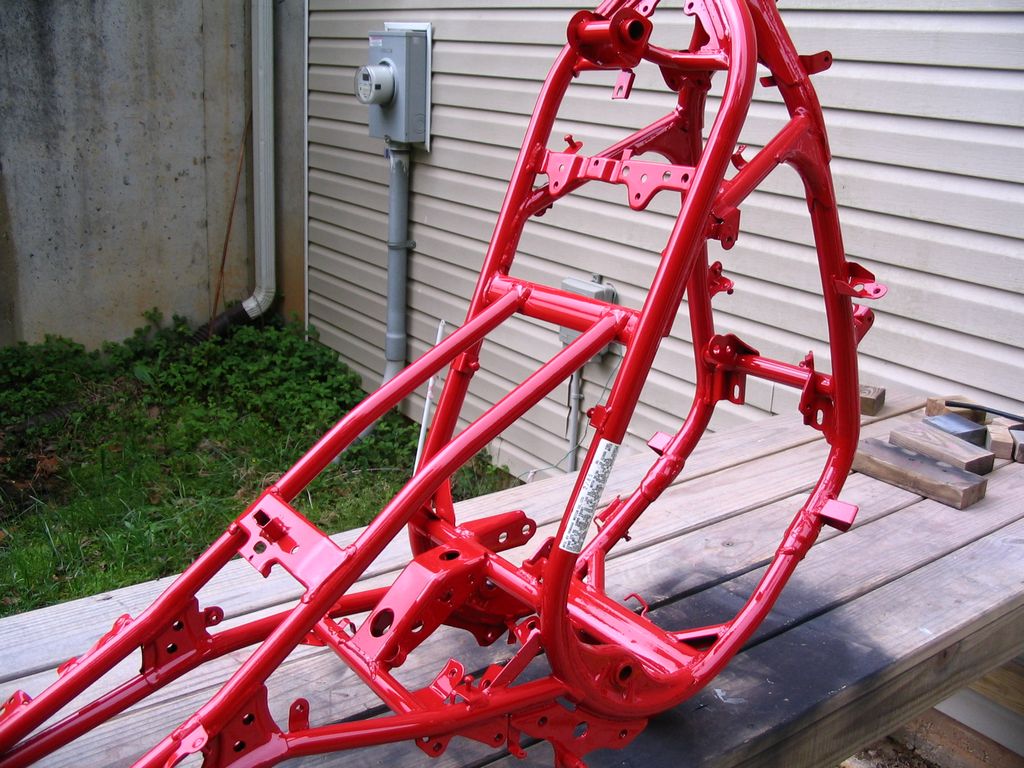
frame after paint
After the frame, The swingarm was next. Cleaning, sanding, and cleaning some more is crucial on a part like this since it had 28 years of oil, chain lube and grease on it. There is no such thing as “too clean” on a bike like this.
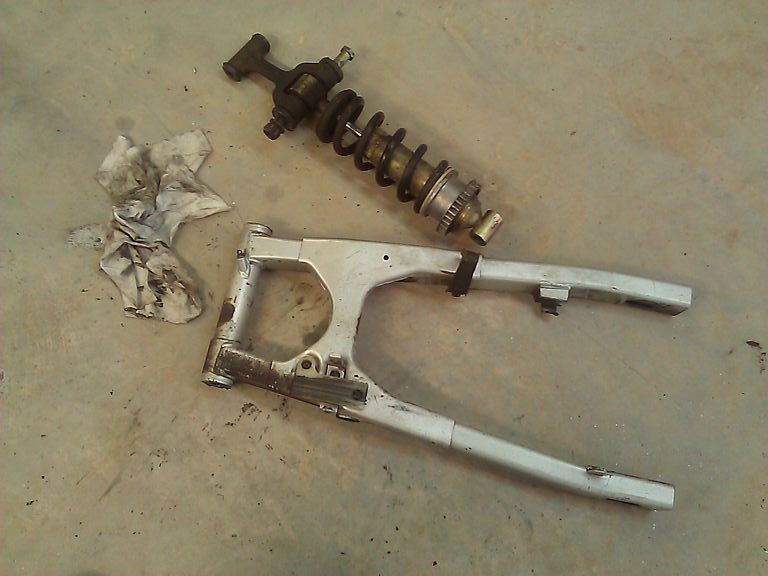
swingarm apart
You need to mask off all of the bearing and bushing holes so they are not contaminated by the paint. This is a silver wheel paint that has a slight sheen but is not super-shiny.
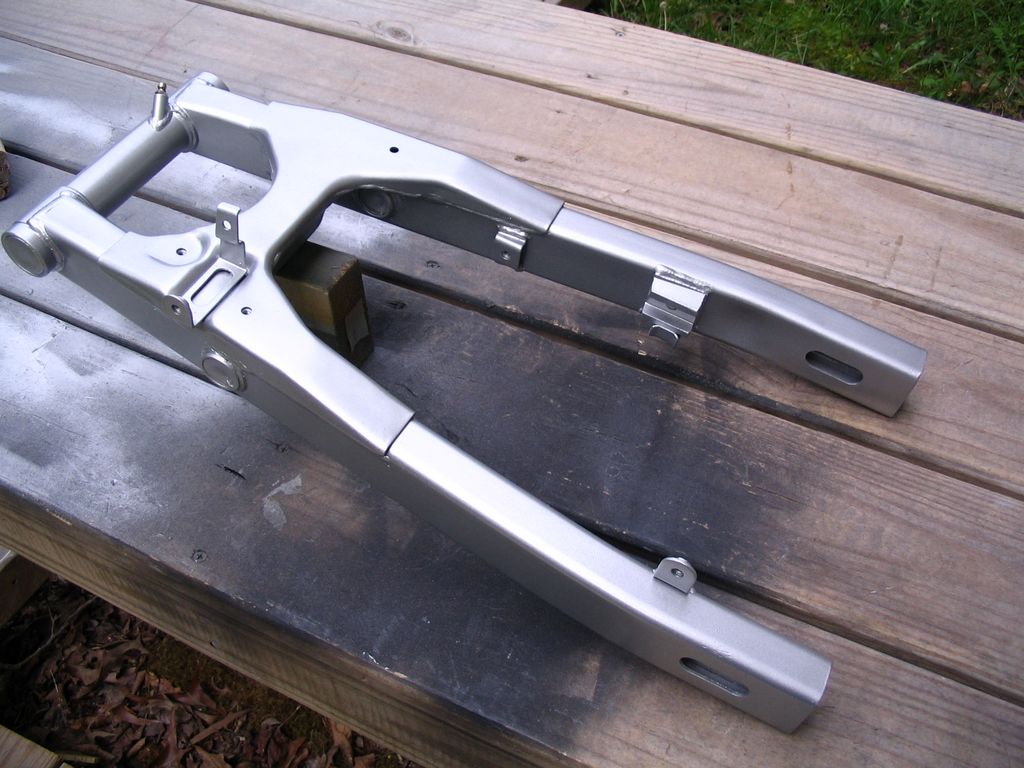
swingarm after paint
In addition to the body panels and frame, all the small parts needed to be stripped and painted. I generally bead blast everything and then clean it super good with lacquer thinner. An old 2-stroke bike like this has everything coated with oil!

forks and peg brackets
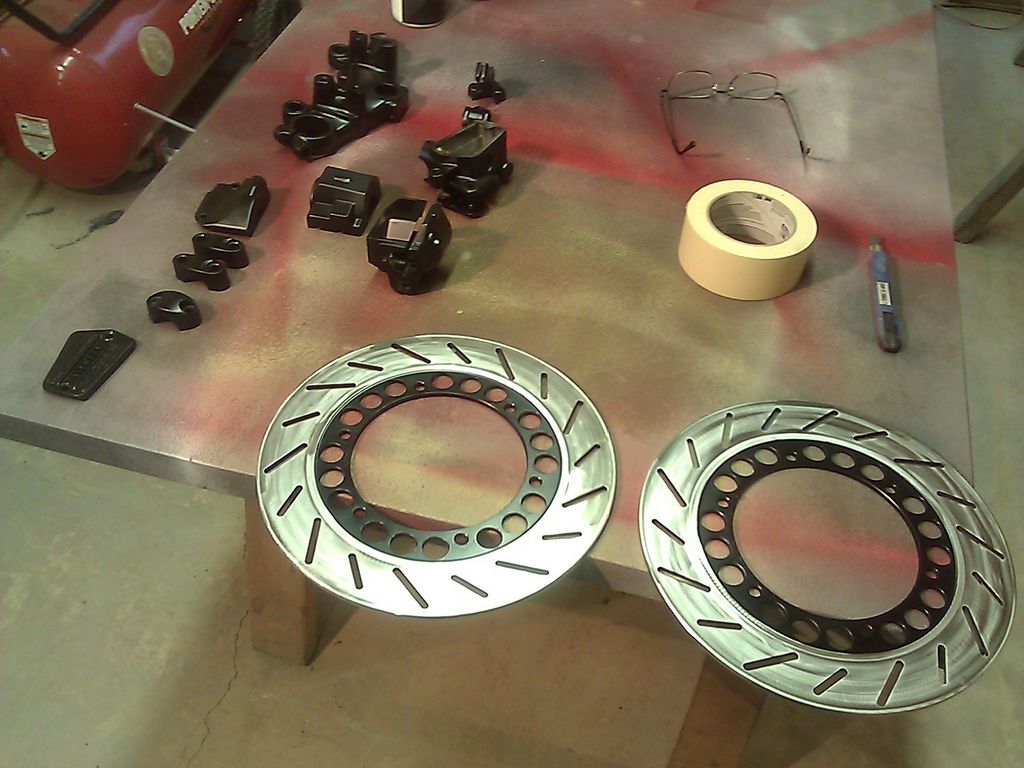
rotors and switch gear
There were so many small parts that needed to be fixed and painted if the bike is to have that restored/new look vs just a paint job look. The instruments really needed to have the wiring straightened out so everything works properly and that meant re-pinning some of the plugs in the wiring harness since it was a mix of Canadian and US parts. Lots of hours spent repairing the plastic gauge cover too- it had a couple of places where the edges were completely broken off that had to be built up with a special plastic epoxy, sanded and painted. Here are a few pictures of the process.
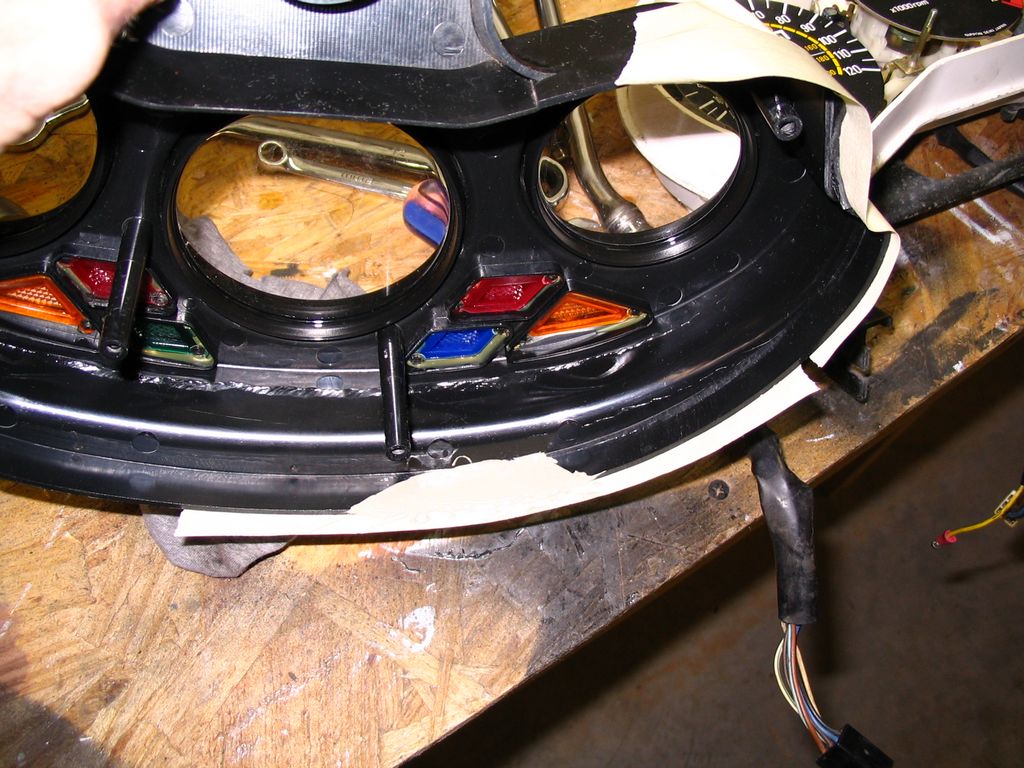
broken gauge bezel
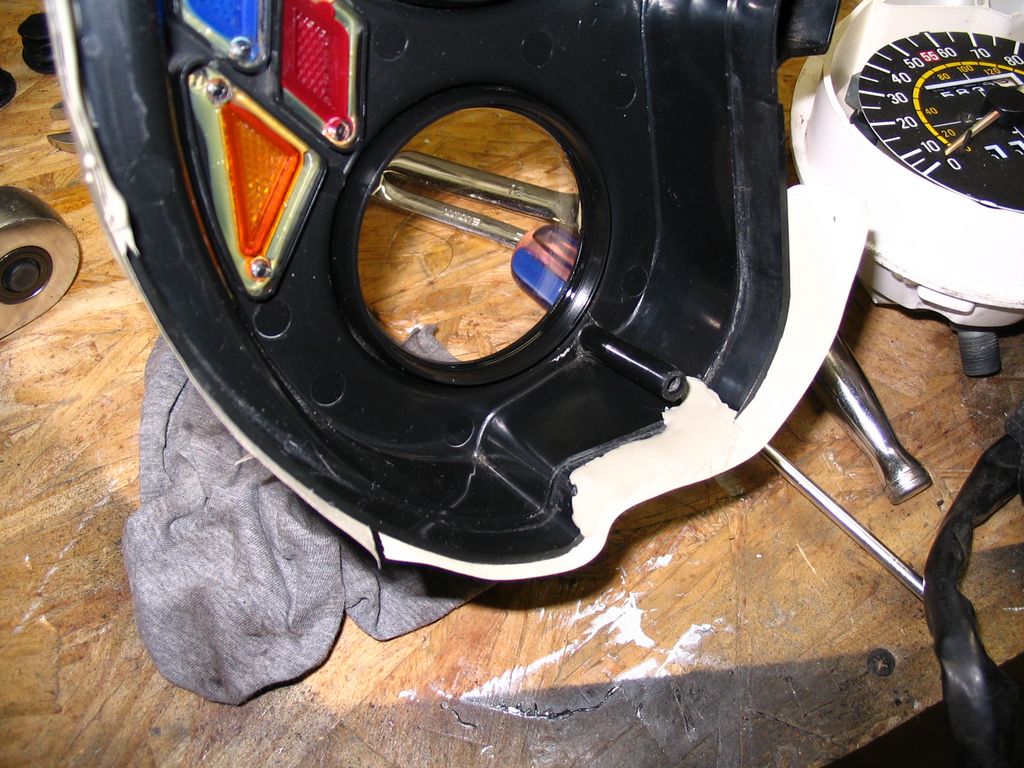
missing corner
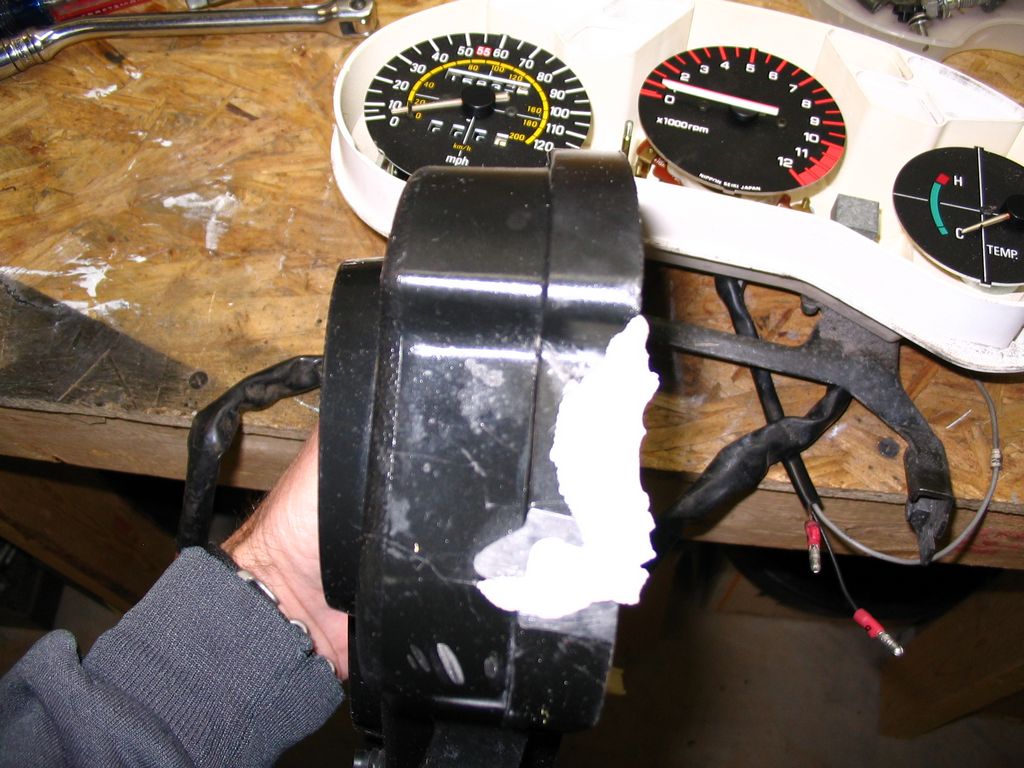
built up with special plastic repair epoxy
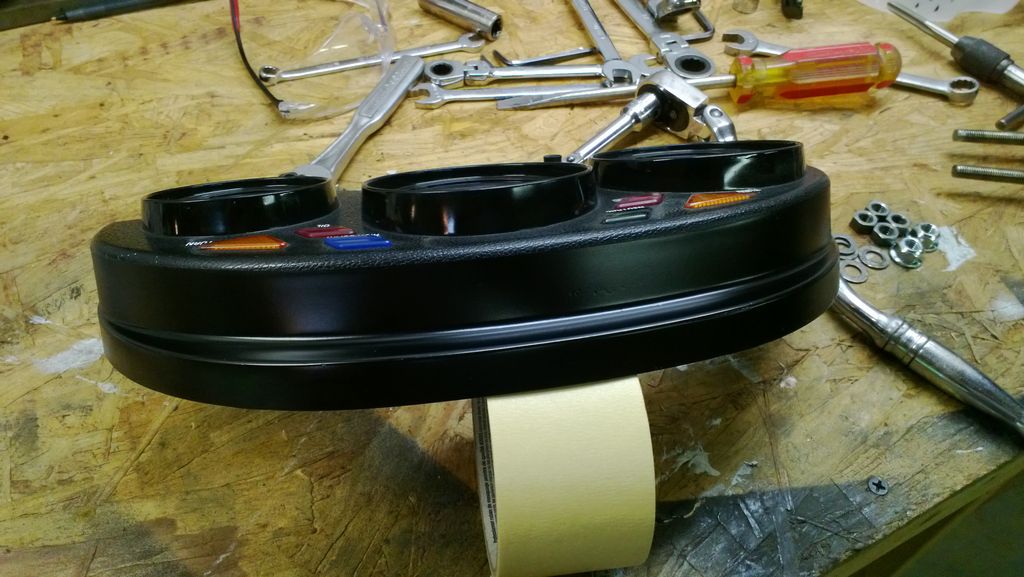
after sanding and paint
The wiring harness was a mess and none of the switches, horn, turn signals were wired correctly so that all had to be figured out…
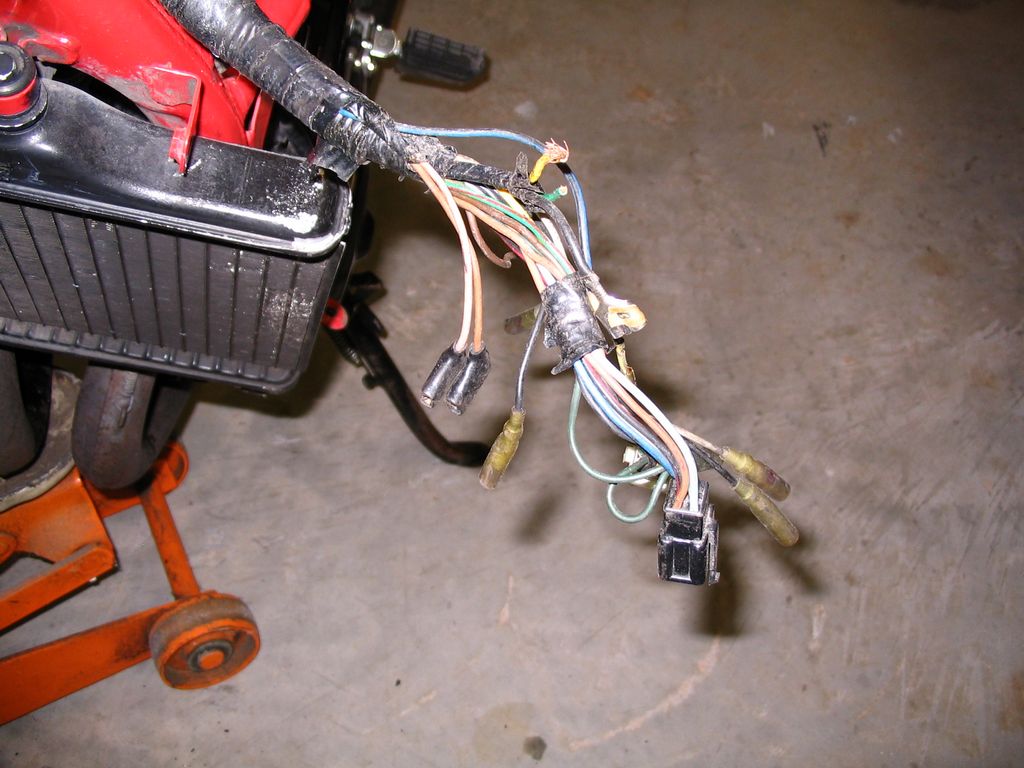
cut missing and wrong plugs…
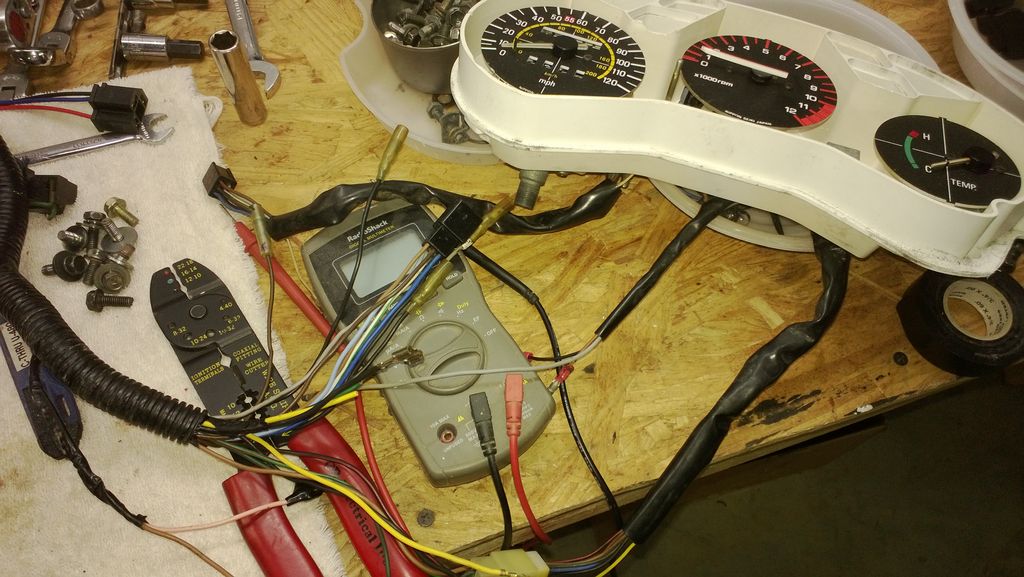
figuring out the gauge pin-outs.
1 Comment
before the FZ there was the RZ- and I bought one to restore - Page 4 - Yamaha FZ6 Forums - International FZ6 Motorcycle Community Forum · July 19, 2013 at 1:48 pm
[…] chronology of the RZ350 restoration… Pages 1-3 are done and I probably need to add 1 more. Yamaha RZ350 Restoration | National Superbike __________________ Curt […]