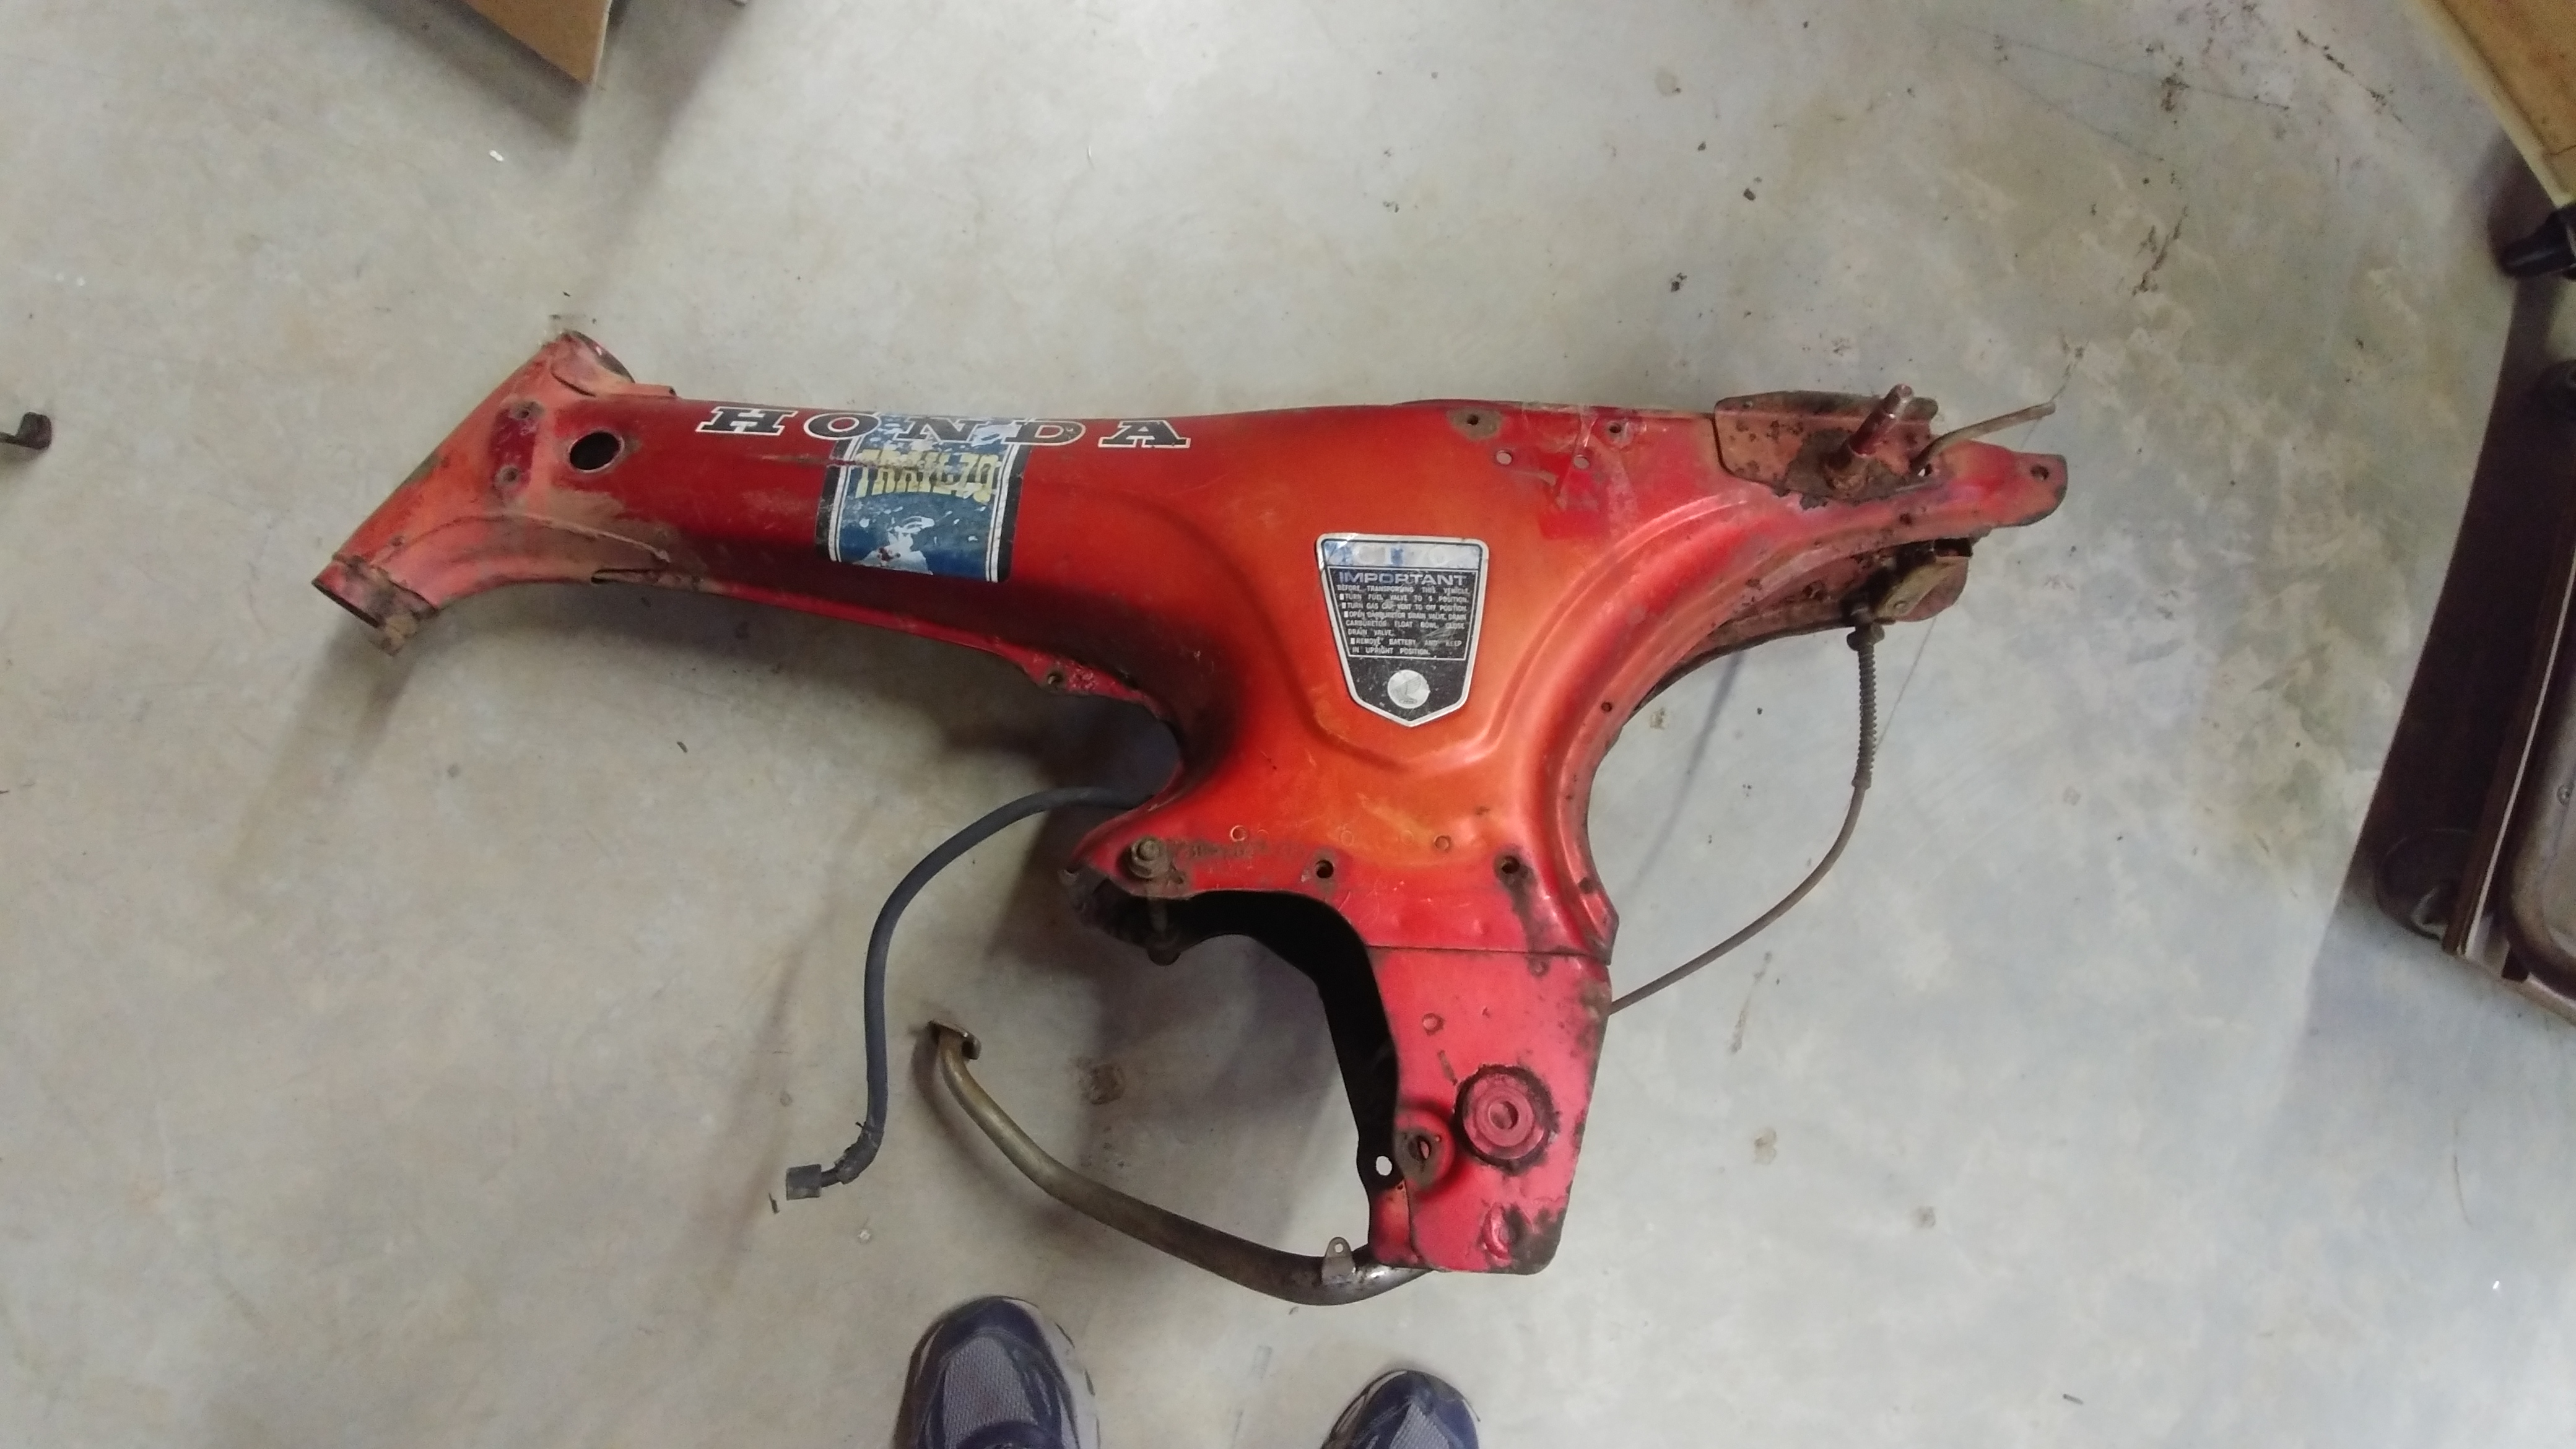
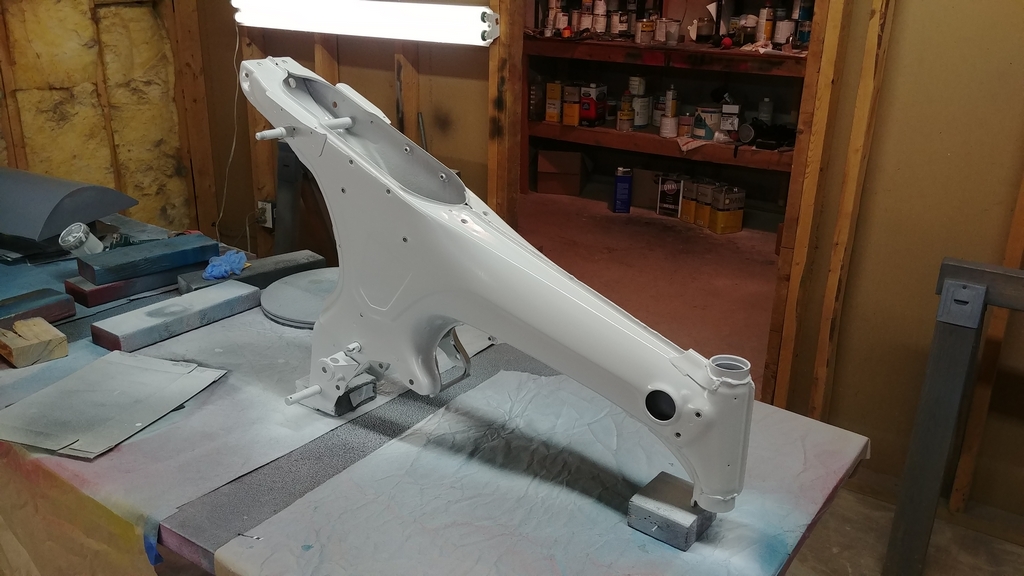
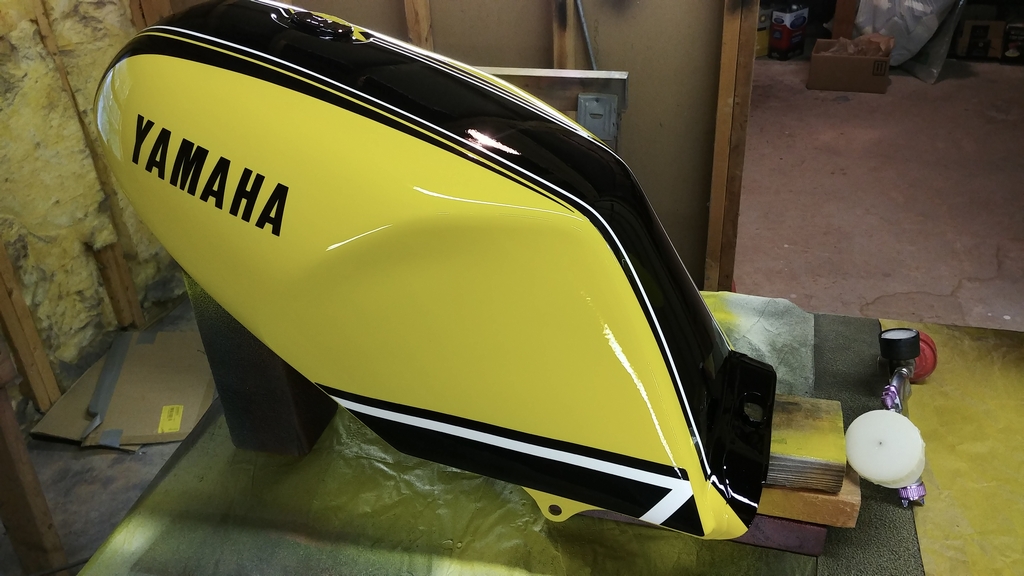
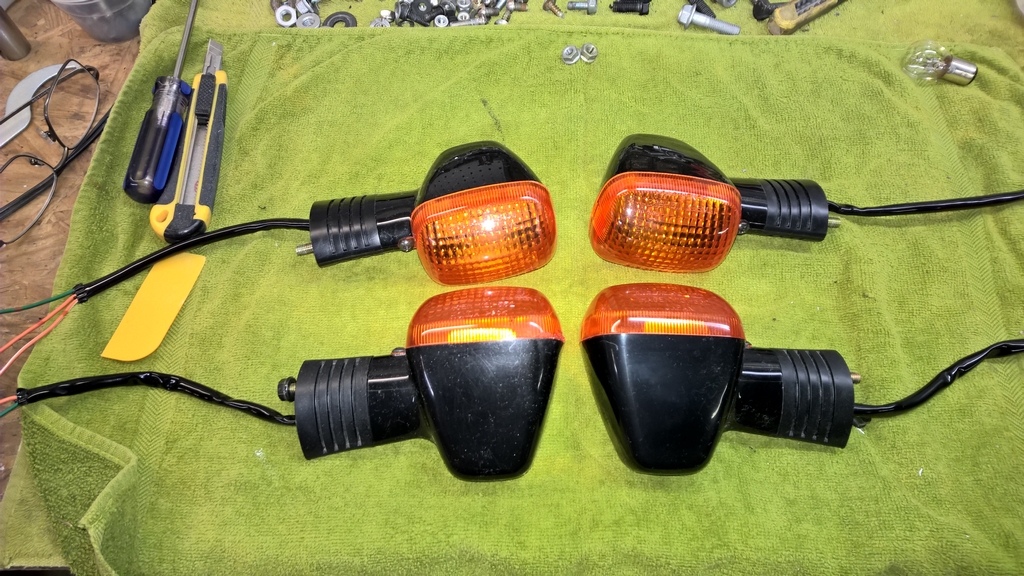
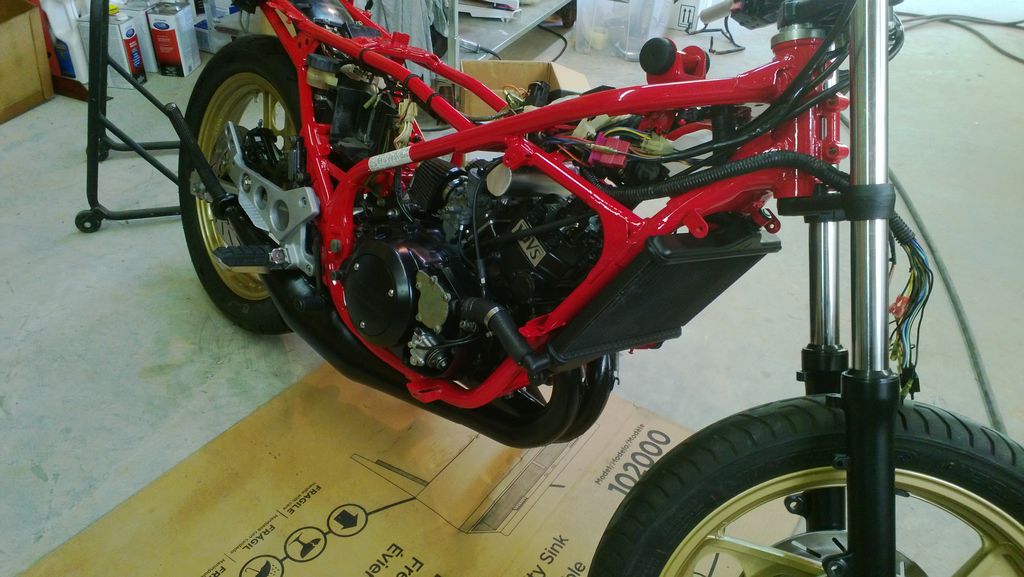
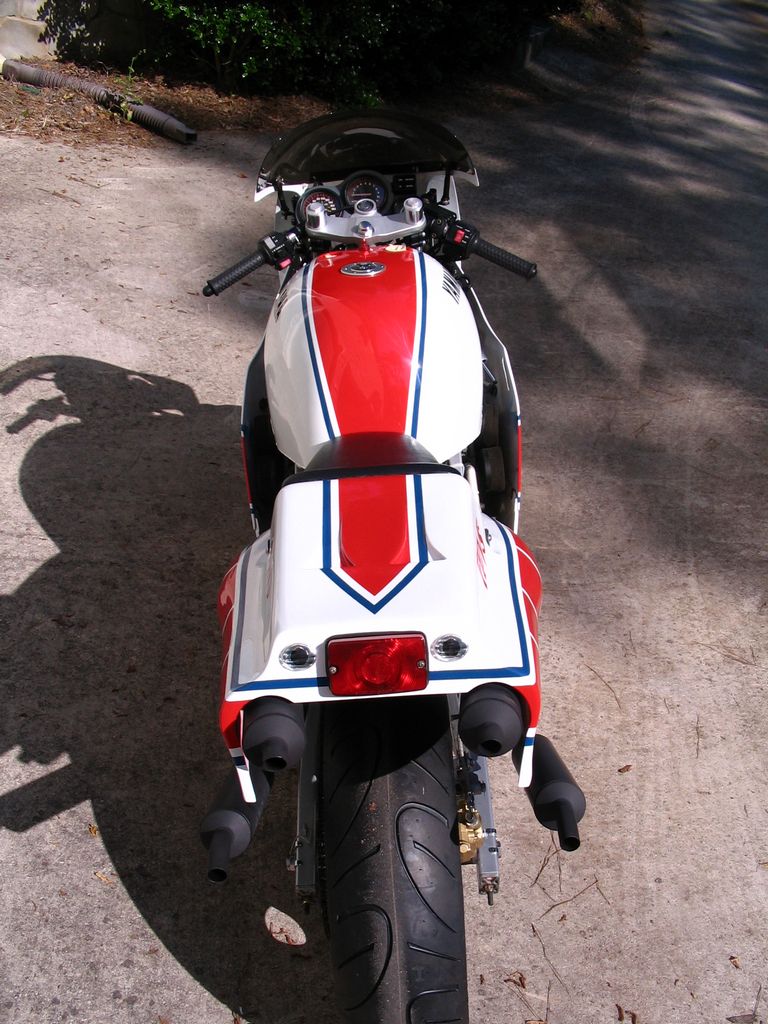
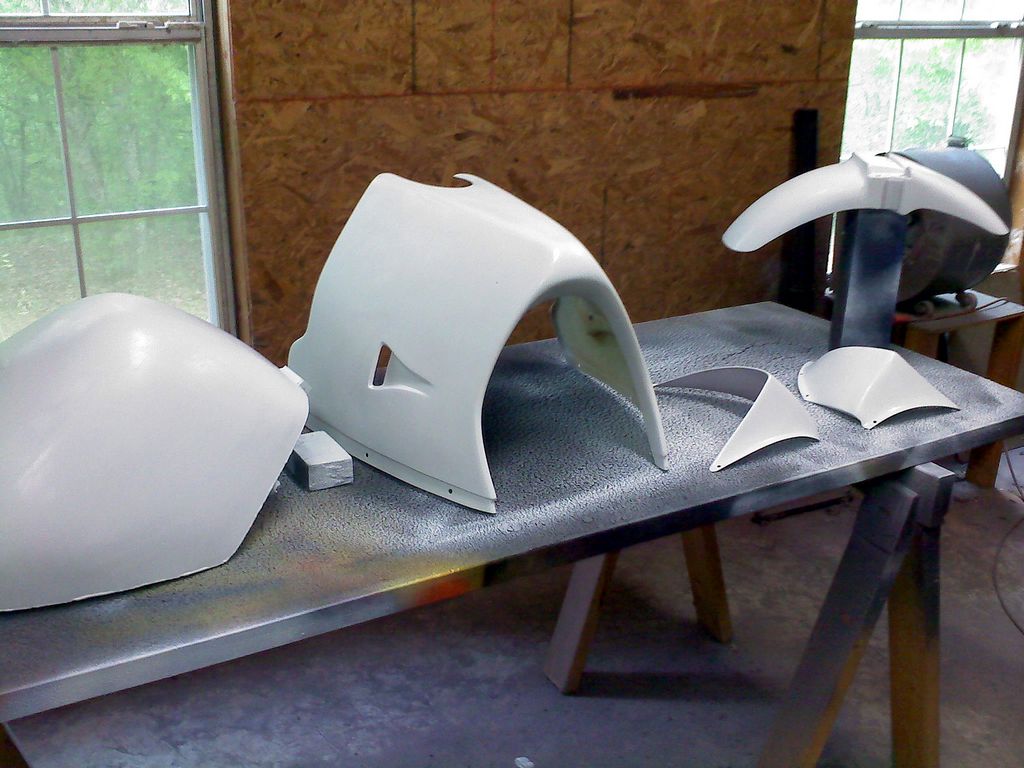
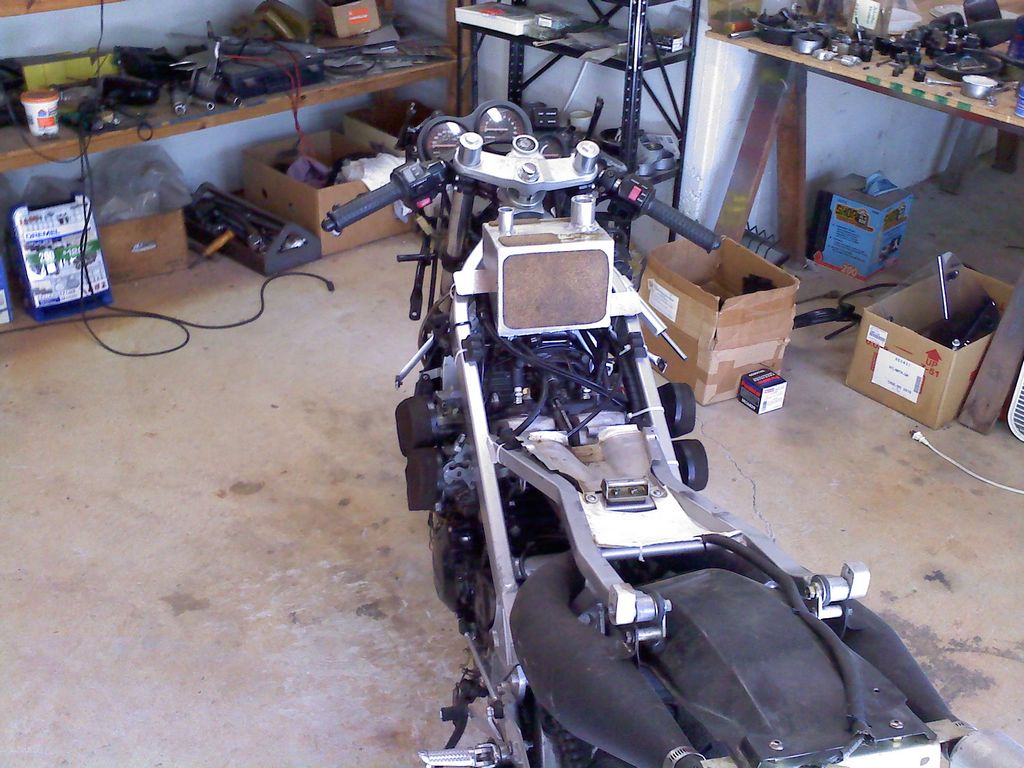
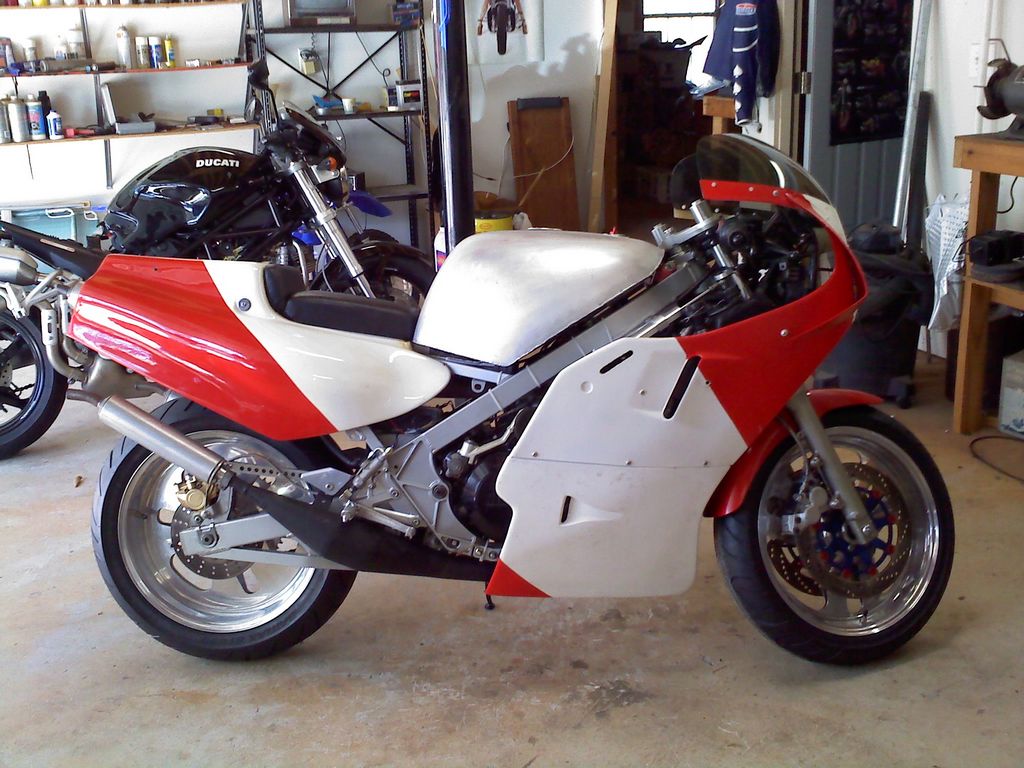
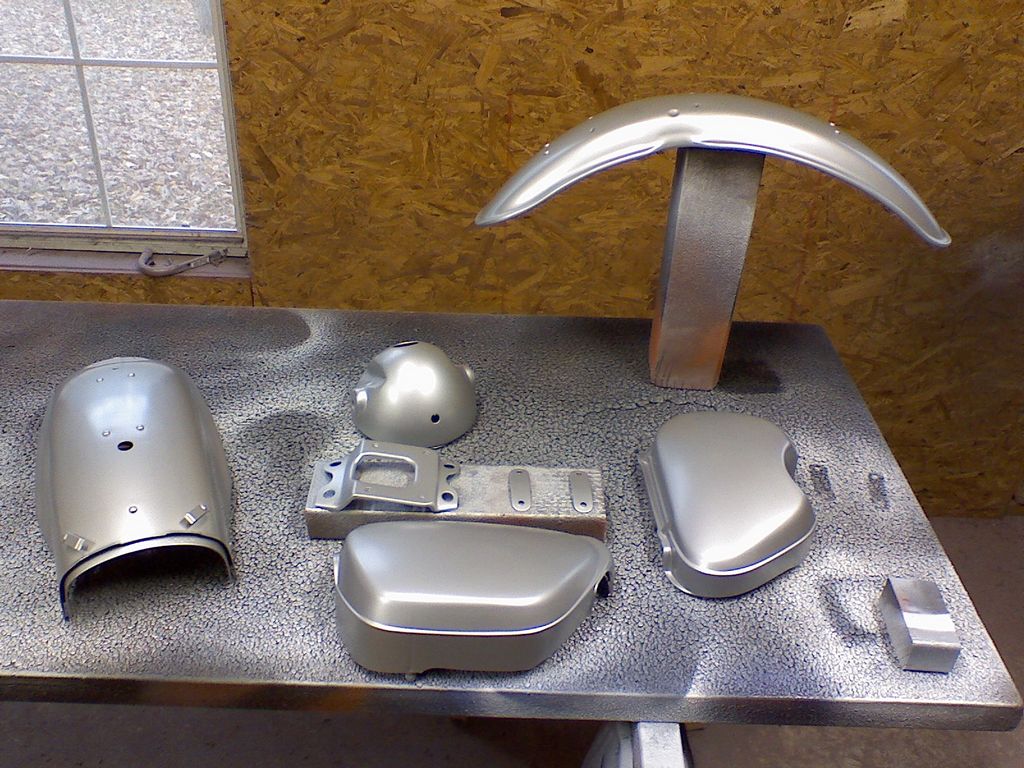
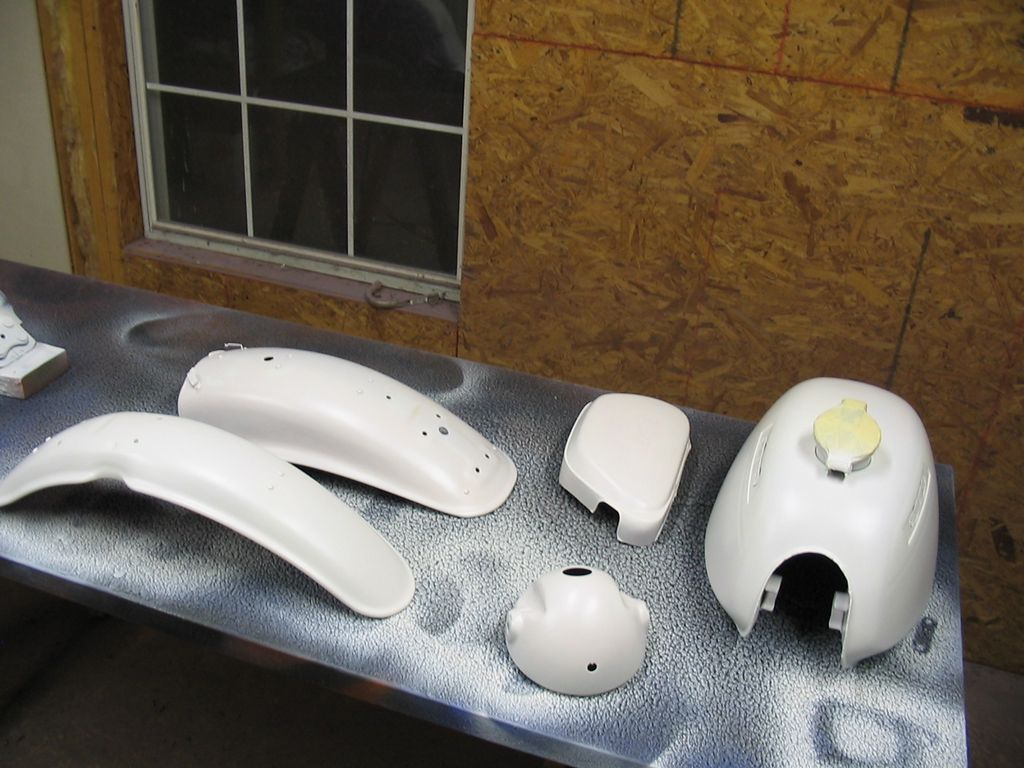
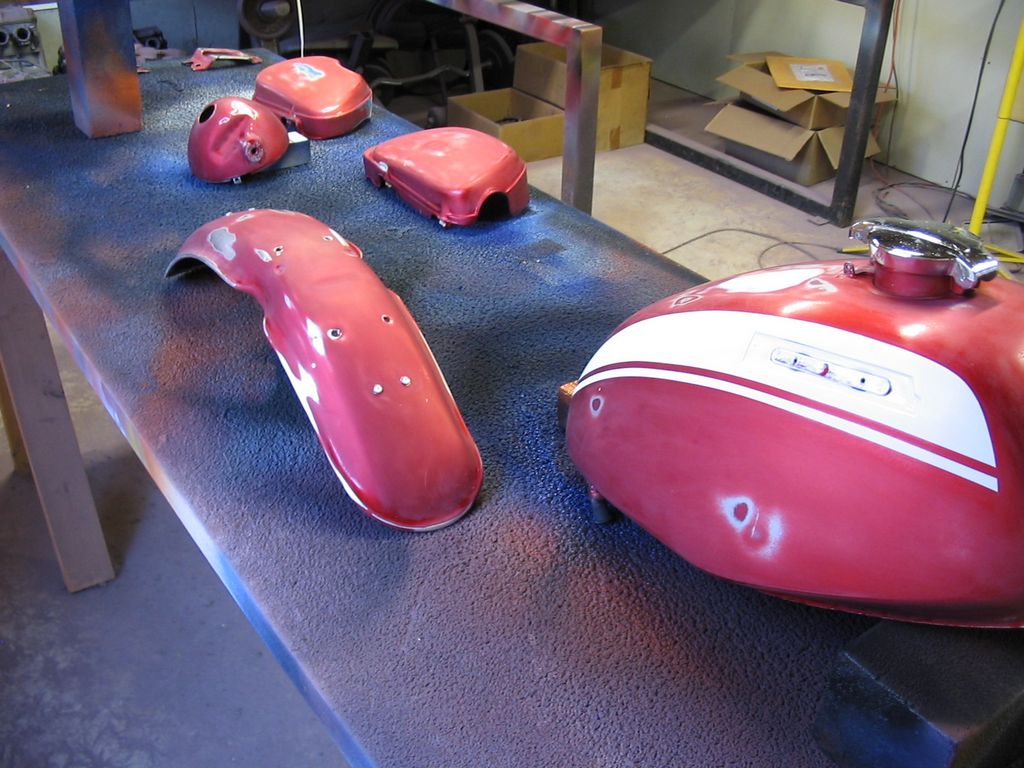
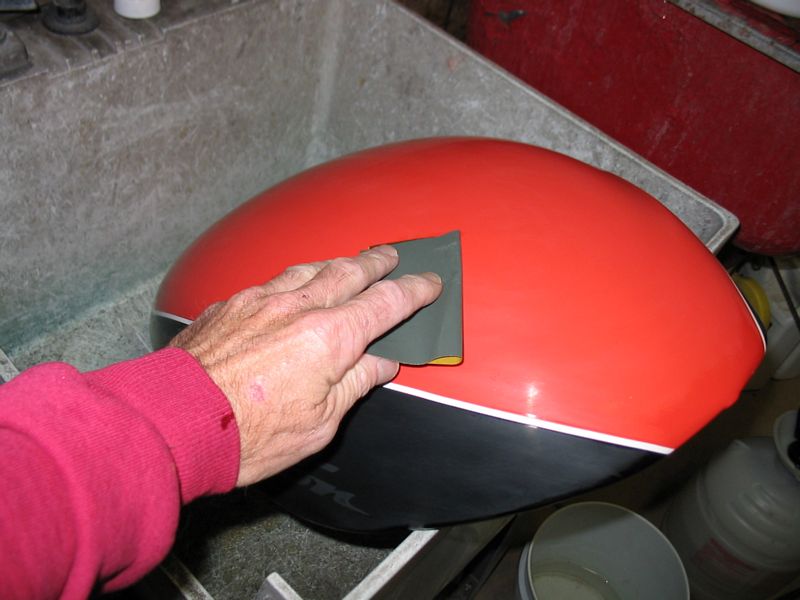
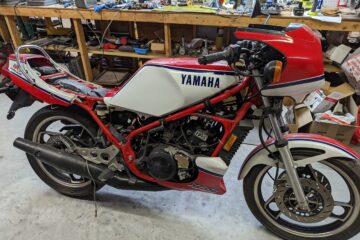
Yamaha RZ500 Project- Part 4
Just a quick update- here are the parts all primed, sanded and ready for base coat paint. Since the base coat on this bike is basically just white, the parts will not really look any different in base coat- just a brighter white. Primed and finish sanded... Read More →
Yamaha RZ500 Project- Part 2
After I stripped the bodywork off of the RZ, I went to work getting all the old paint off of the fairings. Lots of sanding! Since the parts were old and used, there were also some spider cracks in the gel coat from bumps, flexing, etc. These require repair by adding a small patch of fiberglass cloth and resin from the back to stiffen up the area and prevent any more flexing. Then you use super fine finishing filler to fill in the spider cracks in... [Read More...]
The Yamaha RZ500 Project
I am starting on a new project this week that will be super-fun! This RZ500 is owned by a client who is trying to create a road legal replica of Kenny Robert’s last GP bike. So we have some pictures from the Yamaha museum in Japan that will serve as guides for the paint. As you can see, the gas tank is not original- it is hand made out of aluminum and has the oil tank mounted under the front instead of in the left upper like the street RZ. The... [Read More...]
SL 350 Restoration part 3- painting
In today’s installment, we are spraying on the silver base coat that gives the metallic look to the translucent candy red top coat. When you are using a tri coat system like this, the base coats need to have hardener added so that when you spray the red top coat it doesn’t crinkle and spider web the silver. I like to let every coat dry a couple of days before putting on the next coat to avoid any crinkling. Since this was never intended... [Read More...]
SL 350 Restoration- Primer
The SL has a mix of materials used for it’s bodywork- steel for the tank, aluminum for the fenders and plastic for the side covers. In a case like this, the best primer to use is an epoxy primer like PPG’s DPLF. It sticks to anything and anything sticks to it, pretty much. A little light sanding after it dries overnight and we will be ready for the first base coat. SL 350 bodywork in primer Read More →
Restoring a 1971 Honda SL 350
SL 350 bodywork waiting for primer My friend Jerry is currently in the midst of restoring his 71 SL 350 and since I did the paint work for him, I thought it would be cool to post the progress for everyone to see. The bike was not a total wreck, it was just showing its age so he disassembled it down to the frame and we went to work. Here is the bare frame and the bodywork after sanding. Overall, there was very little filler needed except for a few... [Read More...]
V-Rod Part 9- Finished
Here are a few pictures of the finished V-Rod Street Rod. This is a super rare bike that Harley only produced 700 of in 07. In addition to the paint and cosmetic repairs, I also did a complete service that included new hydraulic fluids for the brakes and clutch, oil and filter change, new Dunlops on the front and rear, steering head bearings lubed and adjusted and a check of all the other stuff like brake pads, etc. So she is really ready to ride... [Read More...]
V-Rod Project- Part 8
Today, the weather was a bit nicer with temps in the 60′s and sunny skies. So it was the perfect winter day to do the final buffing on the paint. Even though the paint looks great after clear-coating, we wet sand everything again to eliminate any slight orange peel or dust specks in the clear and then do the final buffing. We start off with a rough cut compound and keep using finer polishes until we get the perfect finish. Here are a... [Read More...]
V-Rod Project- Part 7
V-Rod Stock Exhaust We are in the final stages of the “restore the V-Rod” project and is is starting to get really fun. Today, we get to install the replacement exhaust and put the chrome heat shields back on the pipes. The original mufflers were scratched when the bike fell over- not badly scratched, but enough that they needed to be replaced to make the bike look really good. So I searched around on the internet for some replacement... [Read More...]
V-Rod Project- Part 6
Before Polishing So, now we are in the final stages of our project and some of these are really tedious and time consuming. Since this bike was a daily ridden commuter bike, it wasn’t cleaned and polished regularly- so the aluminum parts like case covers, swingarm and wheels had that dull slightly corroded look. The wheels were cleaned and “brushed” with a fine grade scotchbrite pad which gives them a nice machined/brushed aluminum... [Read More...]
The Harley V-Rod Project
#gallery-1 { margin: auto; } #gallery-1 .gallery-item { float: left; margin-top: 10px; text-align: center; width: 33%; } #gallery-1 img { border: 2px solid #cfcfcf; } #gallery-1 .gallery-caption { margin-left: 0; } I picked up this somewhat ragged 2007 V-Rod Street Rod at the auction for a decent price but it obviously needed some TLC. With... [Read More...]
Welcome to the new site
If you have been coming to motobikeblog for the past 3 years, you are probably wondering what is going on! Well, we are merging 2 sites into one for more (and better) content. NationalSuperbike is the other site where I post pictures and galleries of bikes I have converted and/or custom painted over the years. With the 2 sites combined, you will be able to keep up to date on news and special events as well as watch current projects as they progress. ... [Read More...]
Yamaha FZ1 retro Kenny Roberts Scheme- Finished
Well, here are a few pictures of the finished product. As you can see, it totally transforms the bike. Apparently, Yamaha does have a kit similar to this in other parts of the world but I’ve never seen one in the US. Tapeworks.com will have the graphics available as a kit soon so email or call them if you are interested. FZ1 Stock Red FZ1 side view FZ1 Front Quarter FZ1 Tail Read More →
Yamaha FZ1 Retro Project Part 5 of 5
Well, all that is left is to do the final assembly. After letting the clear dry for a couple of days, we can reassemble the bike. One thing I noticed on the FZ1 is how heavy and complex the tail section is. It has to weigh 20 lbs all by itself. I do wonder what could be done on an FZ1 in terms of weight reduction- maybe an R1 tail and an aftermarket exhaust… that would save 30 lbs with just those mods. Could be a new project:) Reassemble- tank... [Read More...]
Yamaha FZ1 Retro Project Part 4 of 5
After installing the graphics, we need to clear coat everything. Clearing in the graphics gives the bike an almost unbelievably richer, more finished look. Since the graphics are actually printed on the vinyl, after clearing, it looks like it was painted. Much nicer than even factory style decals. Clearcoated Clearcoated Tank Read More →
