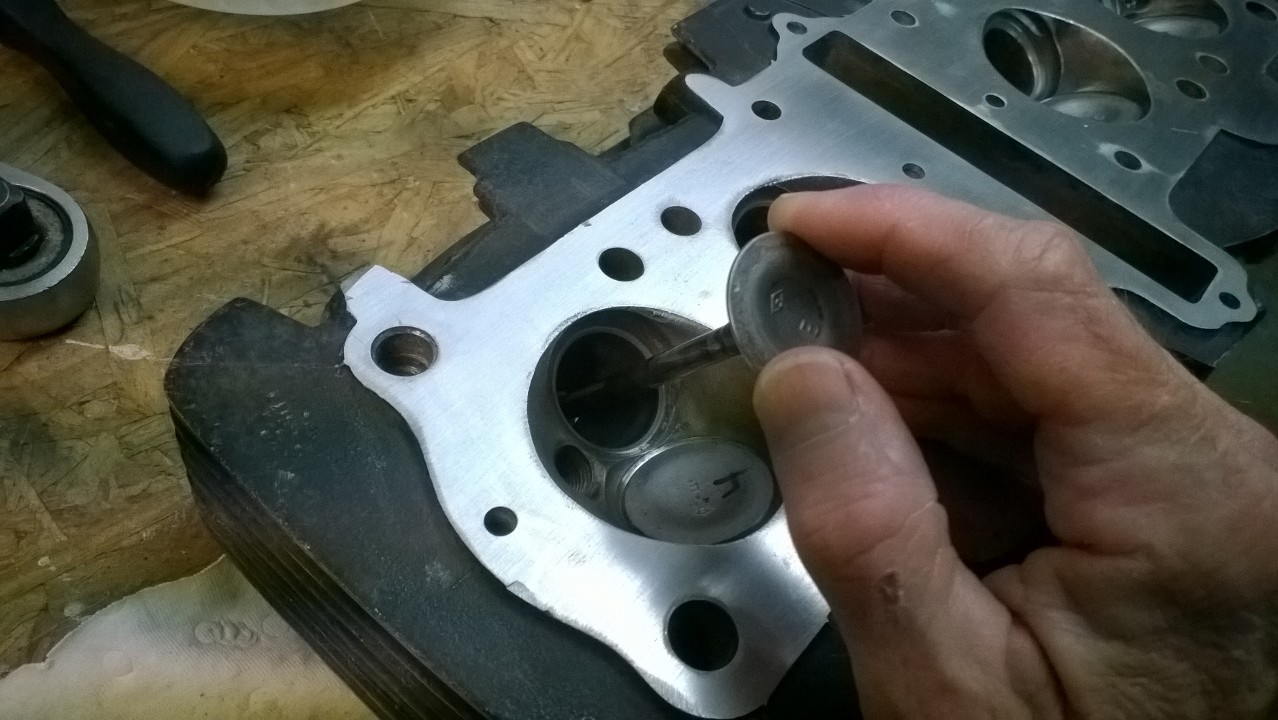
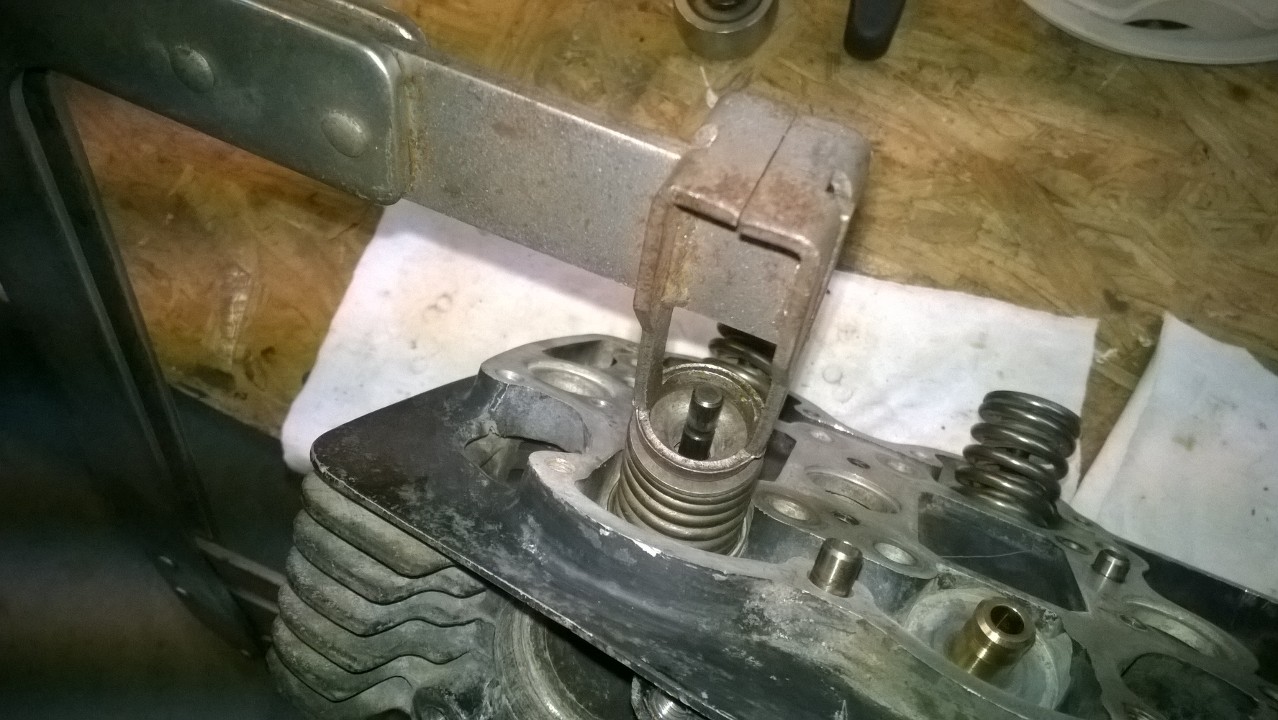
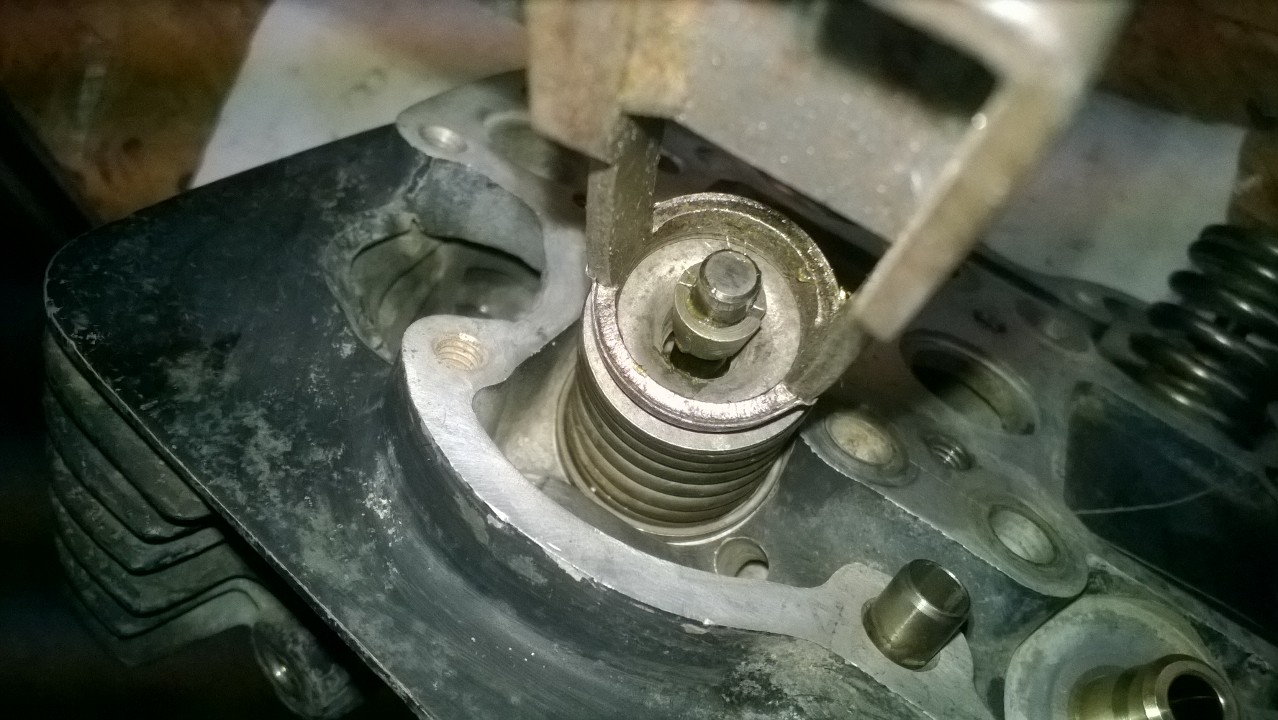
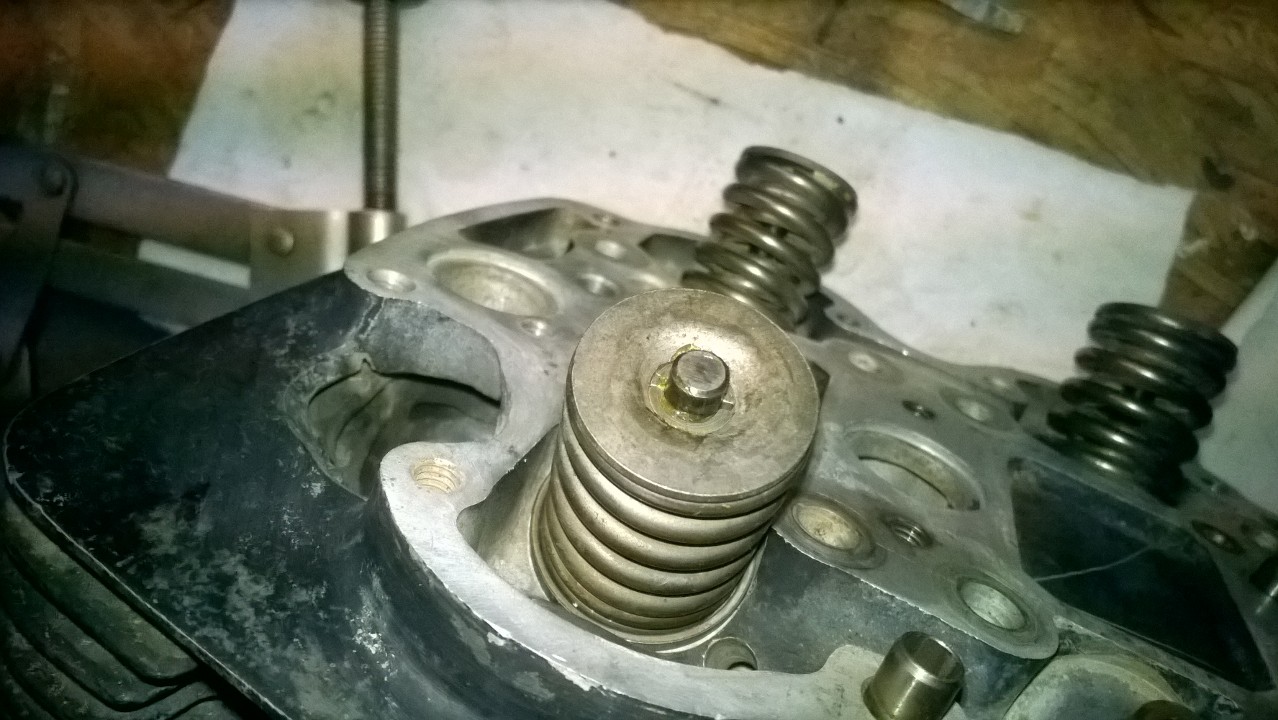
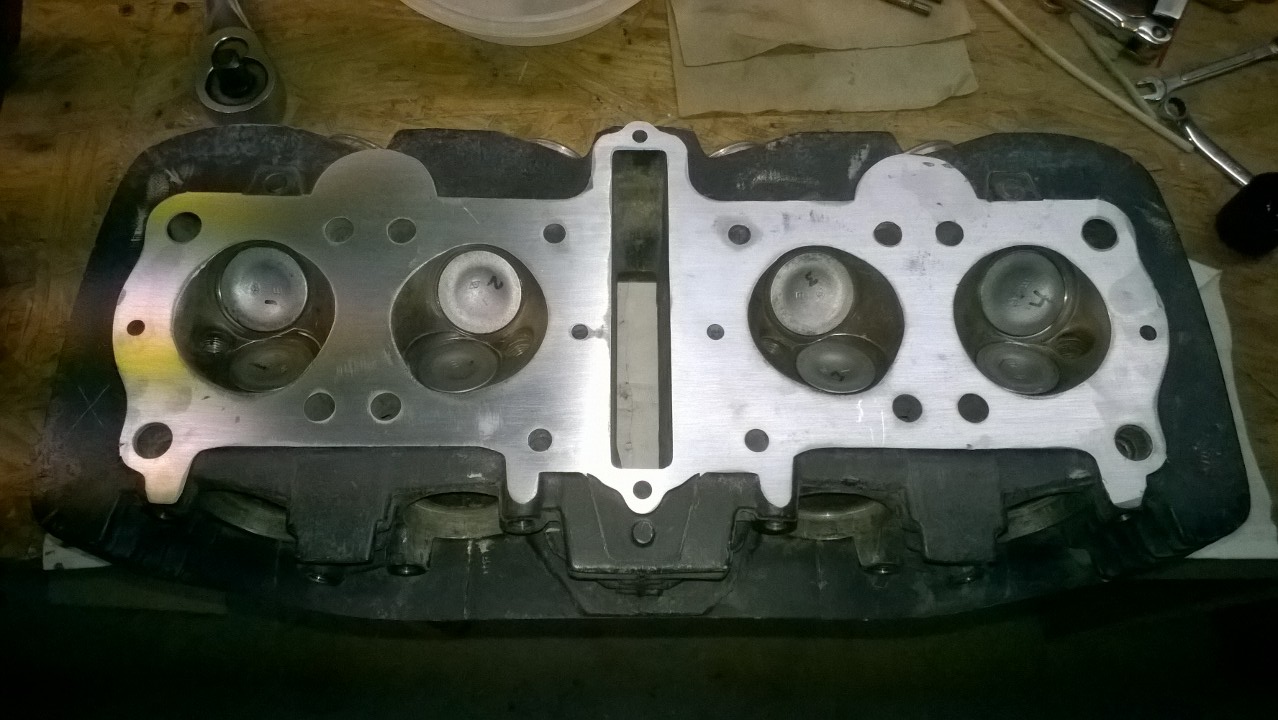
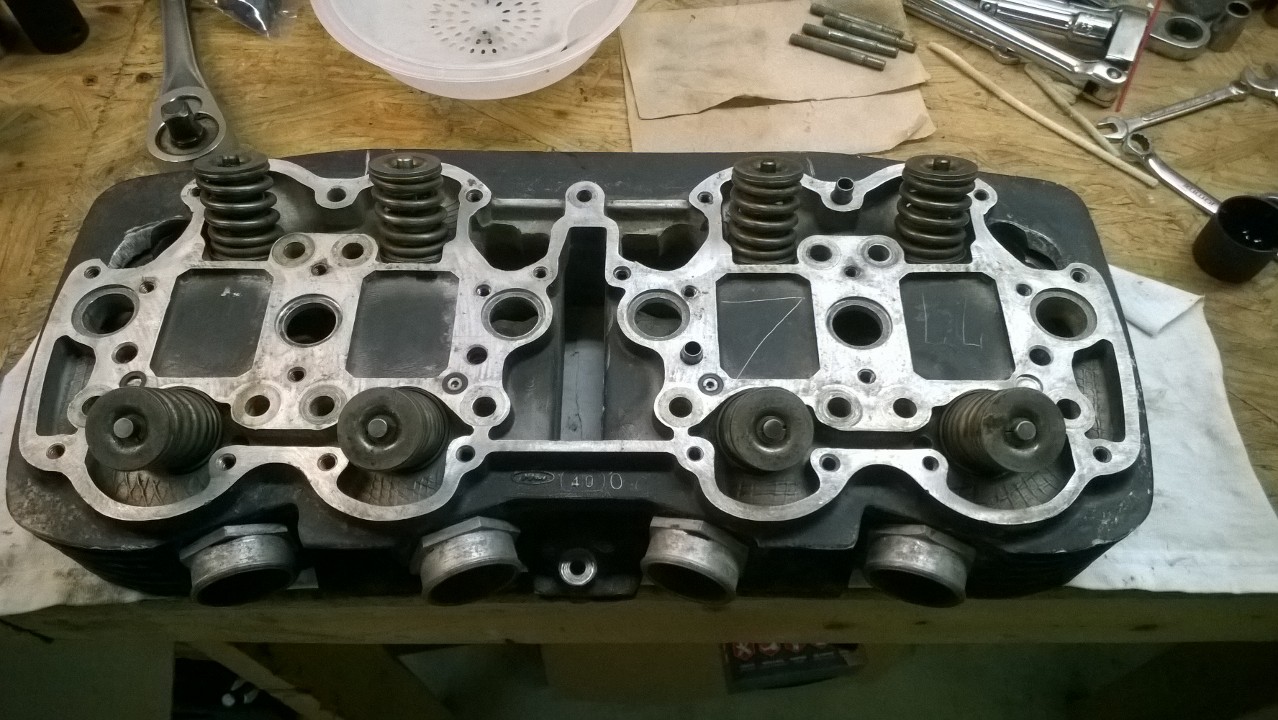
Today we are installing the valves, springs and keepers back in the head. Step one is to make sure you lay out all the parts so you don’t have to do stuff over like I did! I installed 2 of the valves and springs before I realized I hadn’t put the stem seals on. Start over… The pictures are a pretty good time lapse of how it all goes together. 1) Install the stem seal, 2) insert the valve, 3) put the springs over the stem, 4) compress the spring and put on the keeper and split collets, 5) repeat until all valves are installed.
The collets in picture 4 are not easy to get in and stay- I use a little bit of bearing grease to stick them to the valve stem or they just fall all over the place. Notice the “77” scratched in the head- this was apparently done at the factory to indicate that the engine was going into a 1977 model. Not sure what the other big “7” is there for but “777” is a good thing!


0 Comments