News
Yamaha RZ500 Project- Part 9
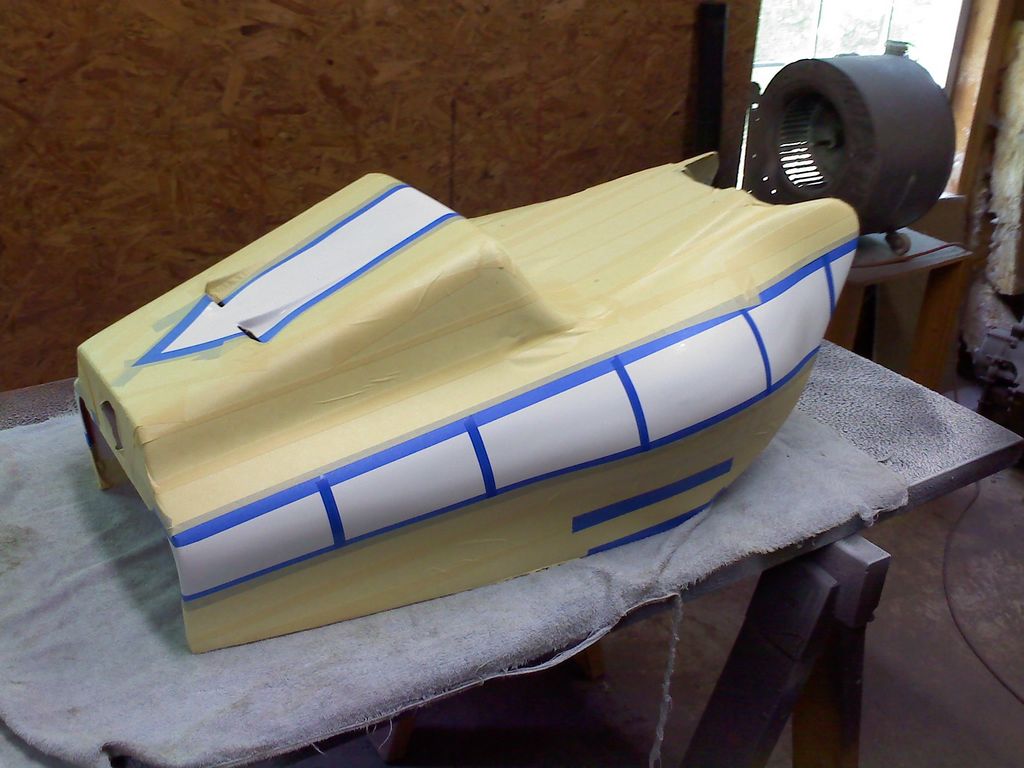
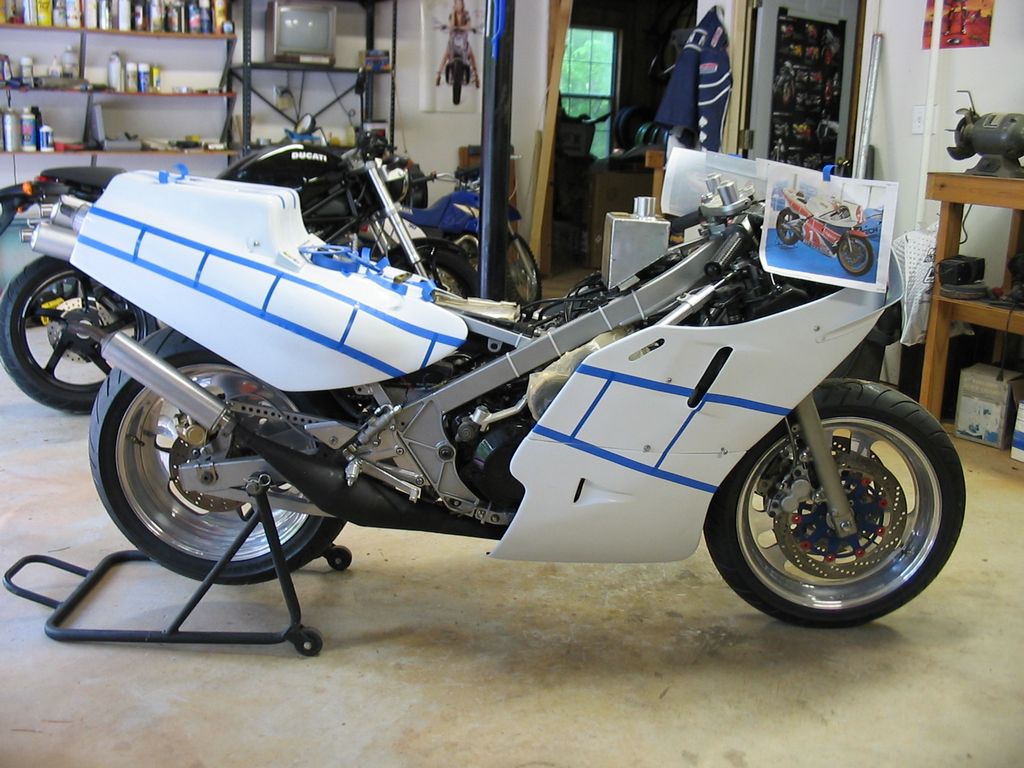
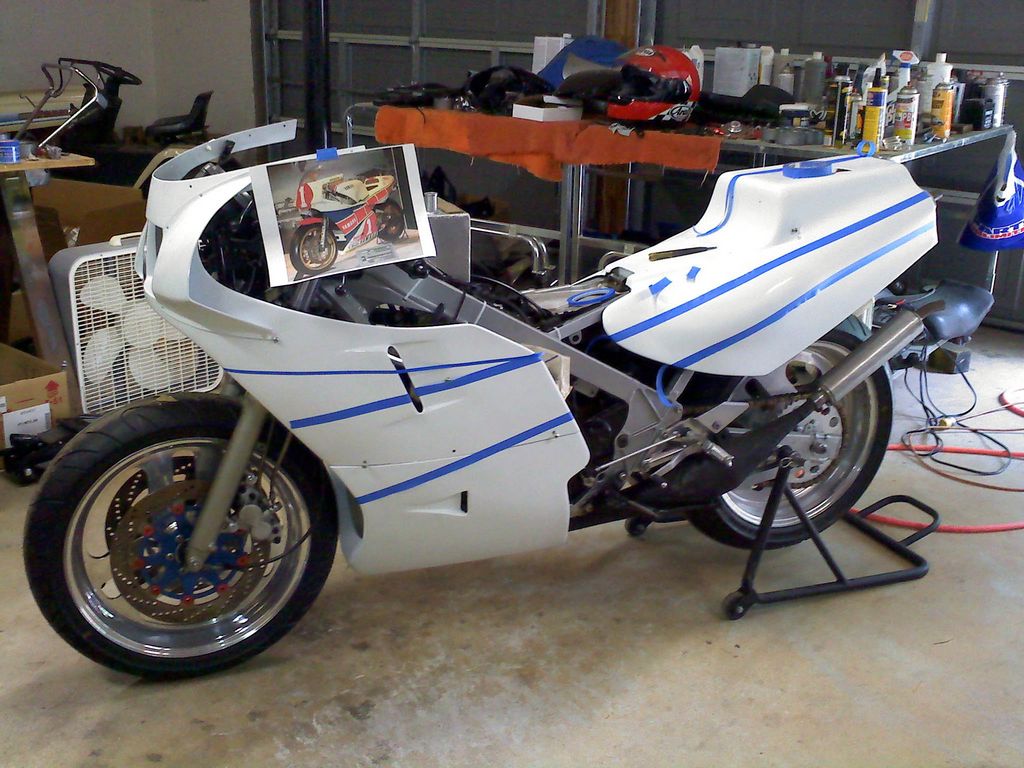
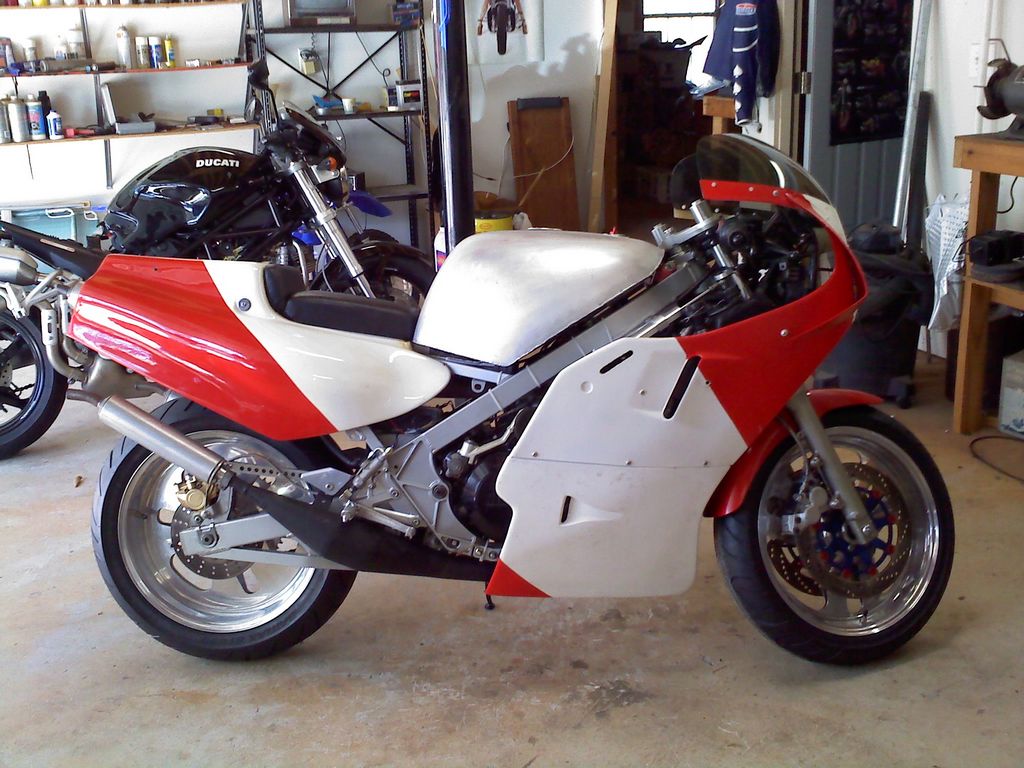
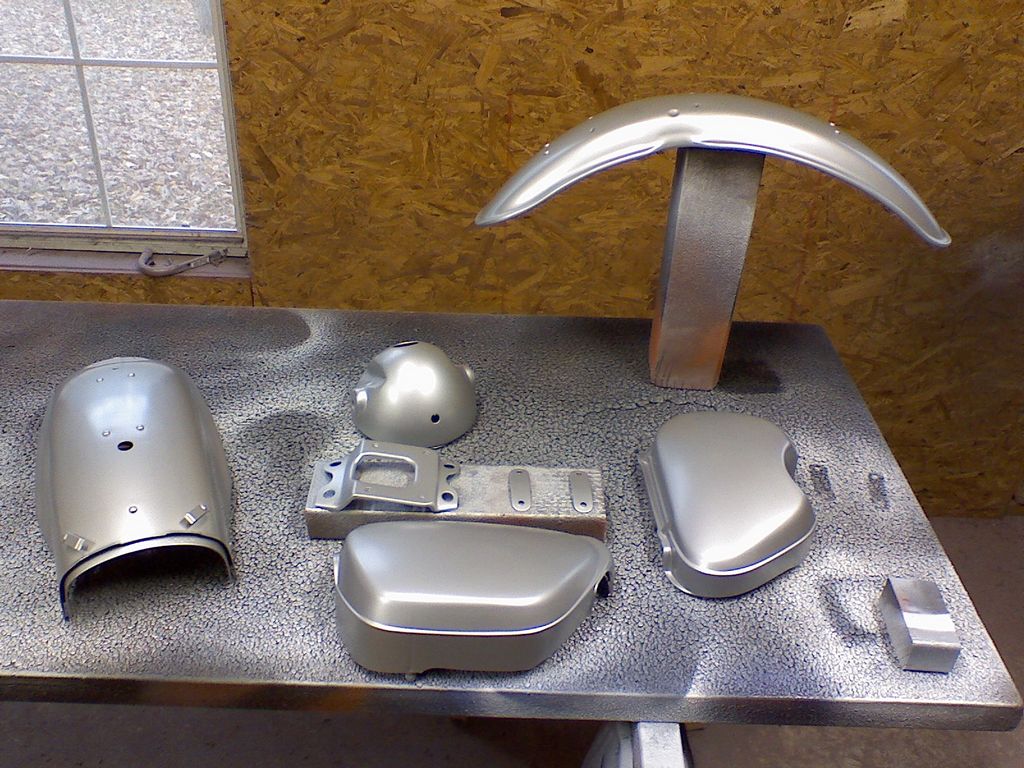
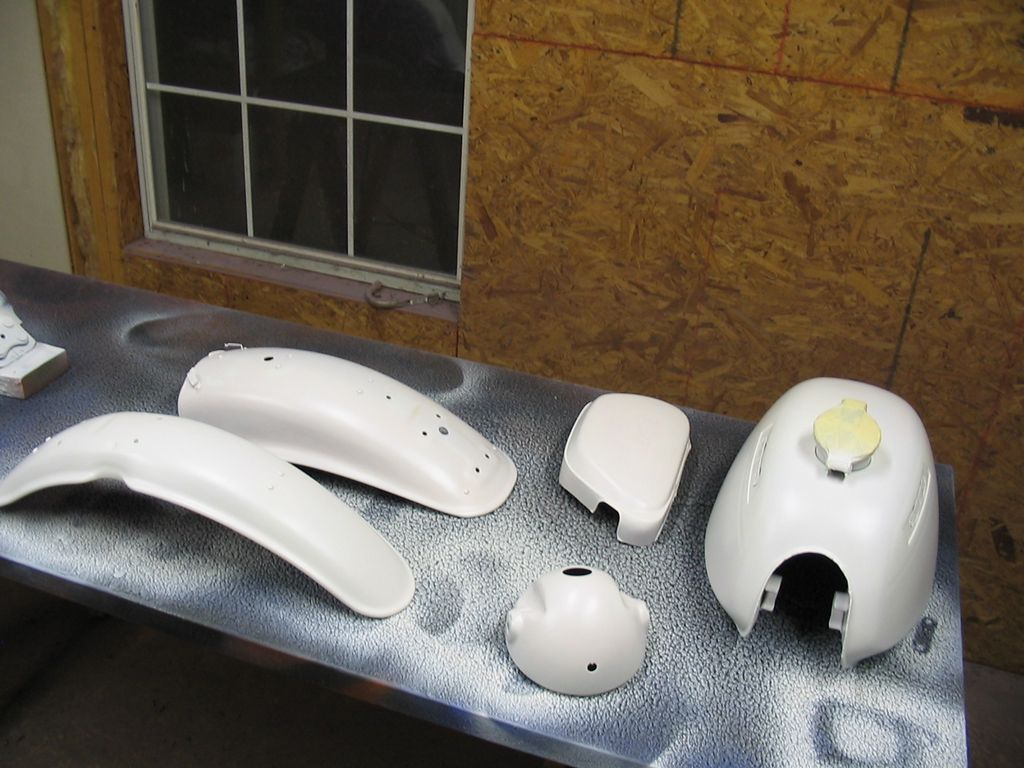
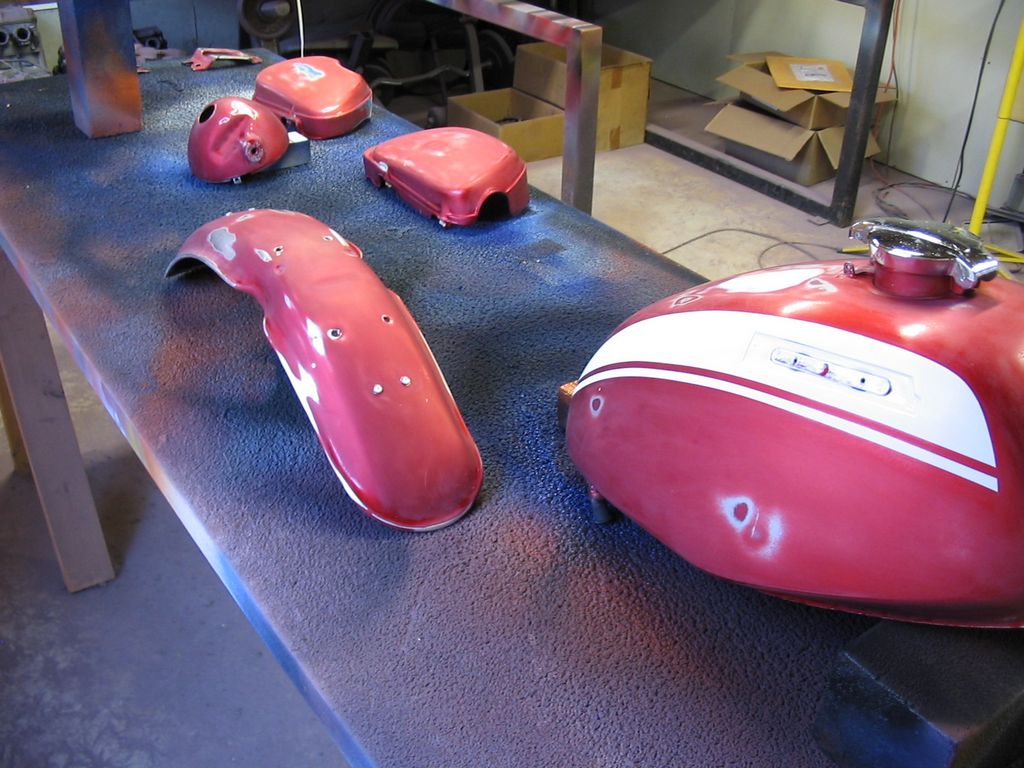
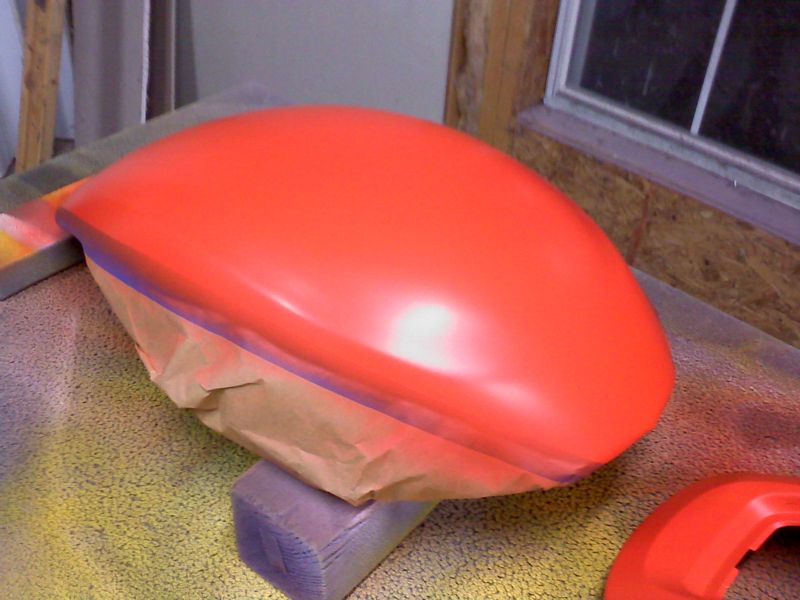
Well, the bike is taped off to paint the blue stripes and you can start to see the final design coming together. We still haven’t decided if we want to paint the large red number plates on the lowers like the factory bike. It might be a bit much. I’ll Read more…